Mastering the Art of Melting Chocolate on the Stove
Introduction:

Melting chocolate on the stove is a fundamental skill for any aspiring baker or chocolate lover. In this blog post, we will guide you through the process of melting chocolate on the stove, ensuring smooth and silky results. Join us as we explore the techniques, tips, and precautions required to achieve perfectly melted chocolate for your culinary creations.
I. Selecting the Right Chocolate for Melting
A. Understanding Different Types of Chocolate
When it comes to melting chocolate, it’s essential to understand the different types available. Dark chocolate contains a higher percentage of cocoa solids and less sugar, providing a rich and intense flavor. Milk chocolate has a lower percentage of cocoa solids and added milk powder, resulting in a sweeter taste. White chocolate, on the other hand, contains cocoa butter, sugar, and milk but lacks cocoa solids. Each type of chocolate has its own unique characteristics and melting properties.
B. Choosing the Ideal Chocolate for Melting
For the best results when melting chocolate, it’s crucial to choose a high-quality chocolate that is specifically designed for melting. Look for chocolate bars or chocolate chips that are labeled for melting or tempering. These chocolates are formulated to melt smoothly and maintain a proper consistency during the melting process. Avoid using chocolate that contains additives or stabilizers, as they can interfere with the melting process and affect the final texture of the melted chocolate.
II. Preparing the Chocolate for Melting
A. Chopping or Grating the Chocolate for Even Melting

To ensure even melting, it is recommended to chop or grate the chocolate into small, uniform pieces. This allows the chocolate to melt more quickly and evenly, preventing any lumps or uneven textures in the final product. Use a sharp knife to chop the chocolate bars or use a grater to create small shavings. Alternatively, you can purchase chocolate chips or wafers that are already pre-sized for melting.
B. Removing any Moisture or Residual Water
Before melting the chocolate, it is crucial to ensure that it is completely dry and free from any moisture. Even a small amount of water can cause the chocolate to seize, resulting in a grainy and lumpy texture. Make sure to wipe all utensils, bowls, and surfaces with a clean, dry cloth to eliminate any moisture. Additionally, ensure that the chocolate is stored in a cool, dry place to prevent any condensation or moisture buildup.
III. Melting Chocolate on the Stove: Techniques and Tips
A. Using a Double Boiler for Gentle and Controlled Heat
- Setting Up the Double Boiler
To melt chocolate using a double boiler, fill a saucepan with a small amount of water and bring it to a simmer. Place a heatproof bowl on top of the saucepan, ensuring that it fits securely without touching the water. The steam from the simmering water will gently heat the bowl, creating a gentle and controlled heat source for melting the chocolate.
- Maintaining the Right Temperature
When using a double boiler, it’s important to maintain a low and steady heat. Avoid allowing the water in the saucepan to come to a boil or touching the bottom of the bowl with water. Stir the chocolate occasionally to ensure even melting and check the temperature with a candy thermometer. The ideal melting temperature for most chocolates is between 104°F (40°C) and 115°F (46°C).
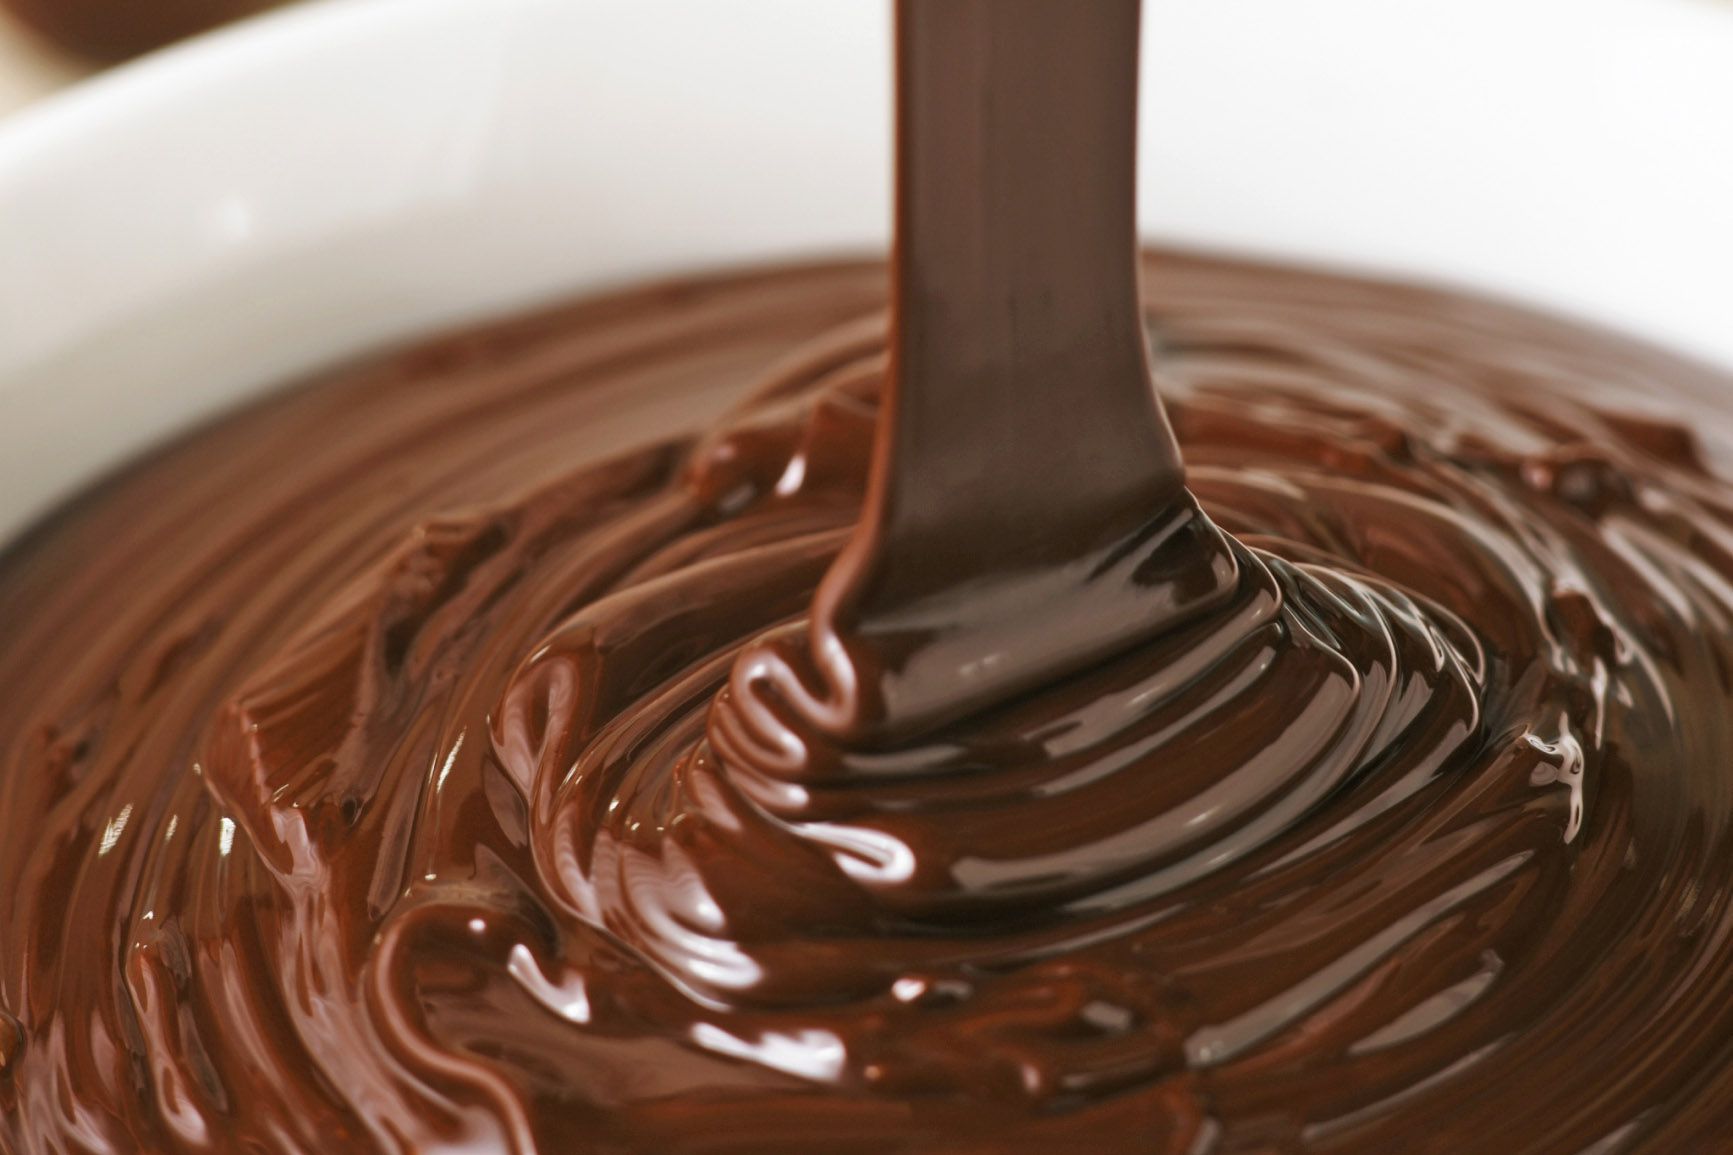
B. Melting Chocolate Directly in a Saucepan
- Using Low Heat and Stirring Constantly
If you don’t have a double boiler, you can melt chocolate directly in a saucepan on the stove. Use low heat and place the chopped or grated chocolate in the saucepan. Stir constantly with a heatproof spatula or wooden spoon to prevent the chocolate from scorching or sticking to the bottom of the pan.
- Avoiding Overheating and Seizing
Be cautious not to overheat the chocolate, as it can easily burn and seize. Remove the saucepan from the heat as soon as most of the chocolate has melted, and continue stirring until the residual heat melts the remaining chocolate. This gentle melting process prevents overheating and ensures a smooth and velvety texture.
IV. Stirring and Incorporating Ingredients
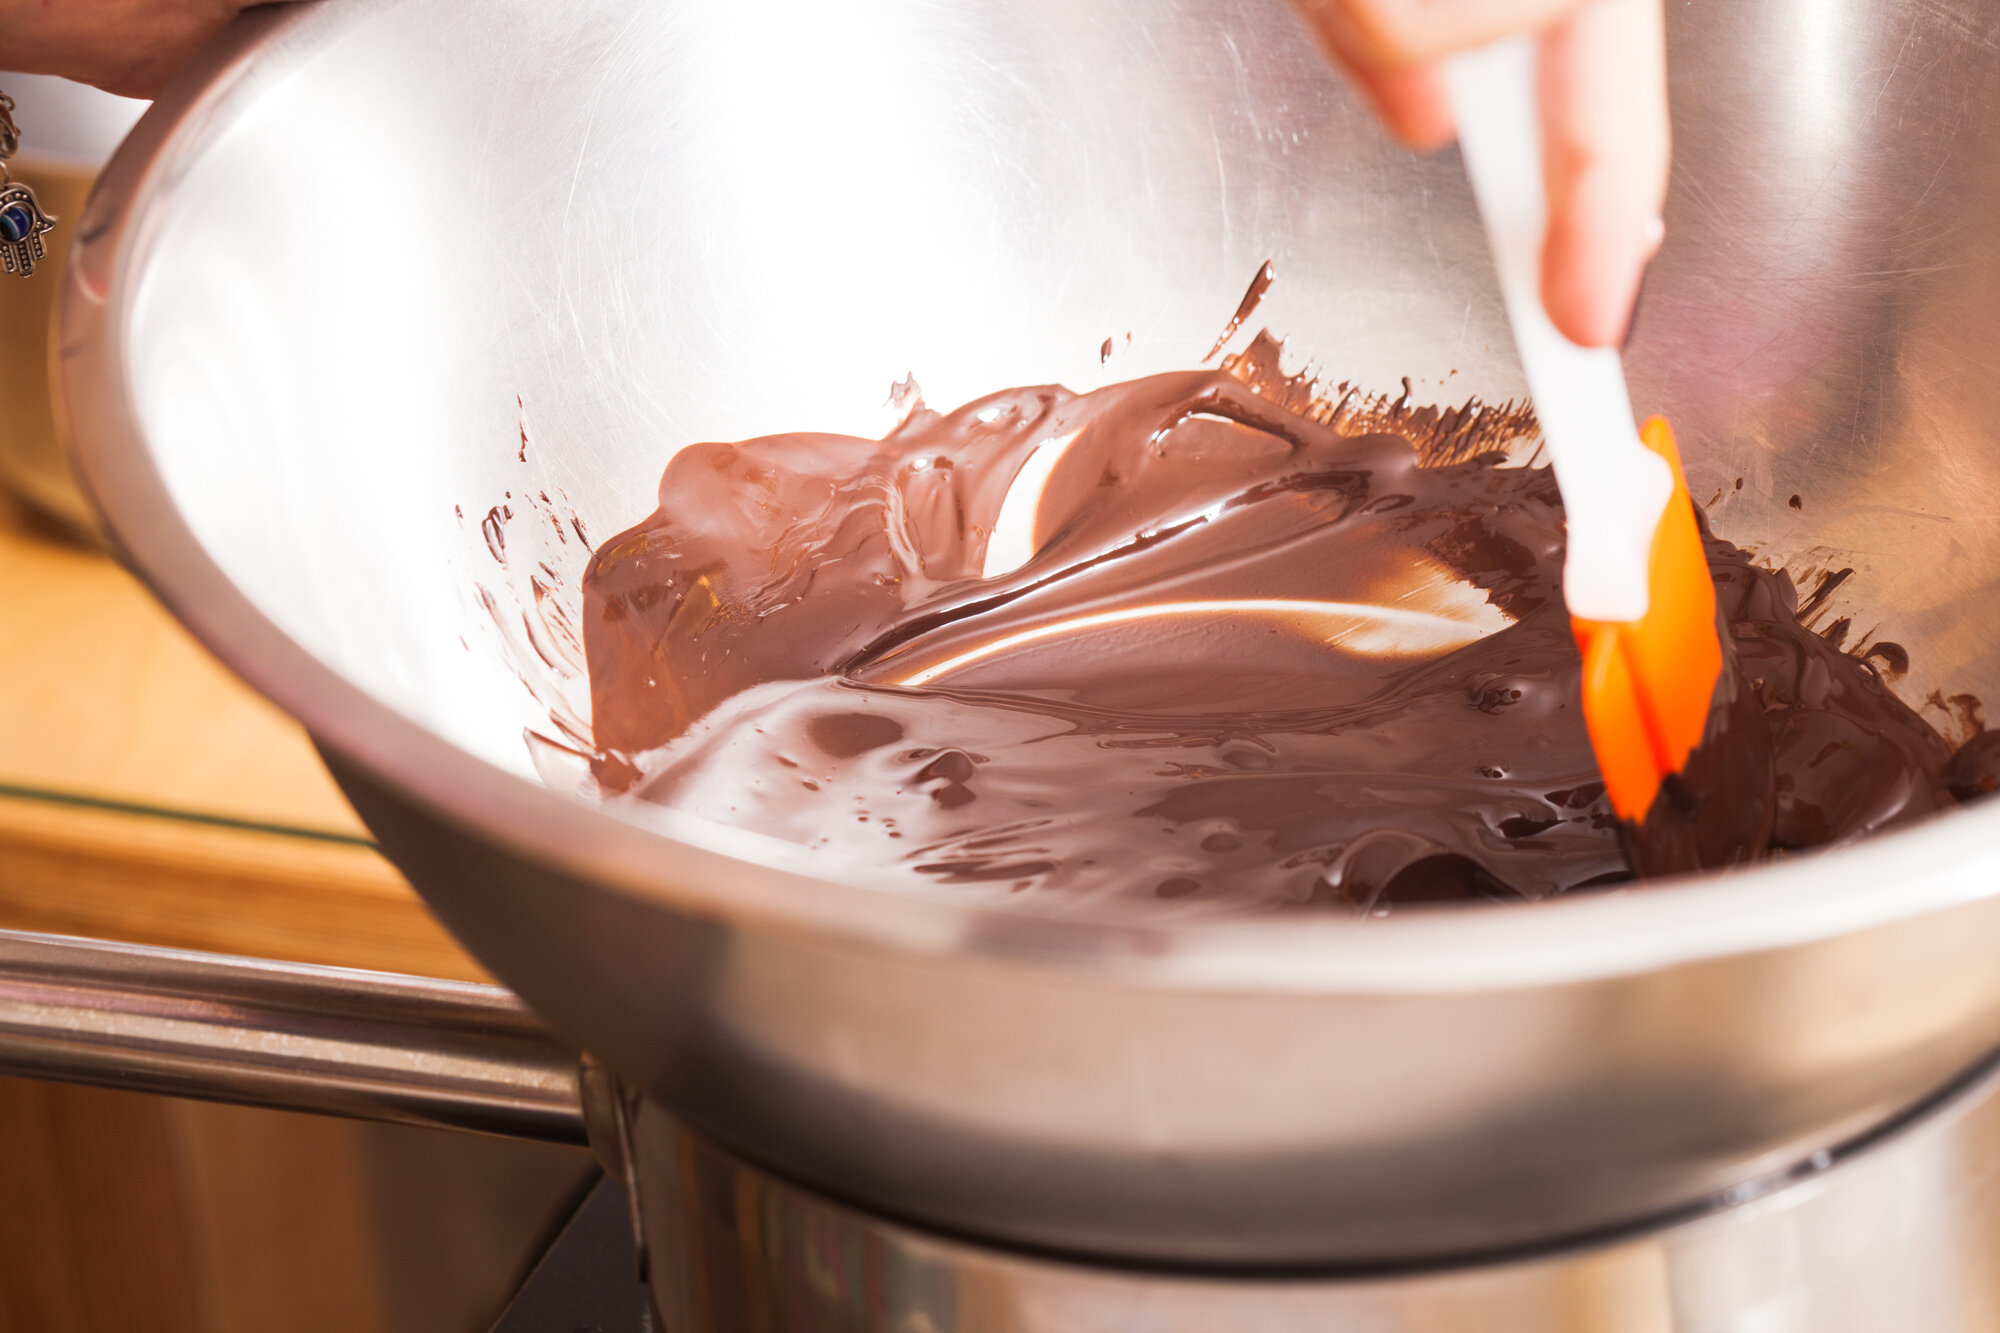
A. Stirring the Melting Chocolate for Smooth Texture
Regardless of the melting method, stirring the chocolate regularly is important to ensure even heat distribution and prevent any hot spots. Use a heatproof spatula or wooden spoon to stir gently and avoid incorporating air into the chocolate. Stirring also helps the cocoa butter and other ingredients in the chocolate blend together smoothly, resulting in a silky texture.
B. Adding Ingredients for Desired Flavors or Textures
Once the chocolate has melted, you can add other ingredients to enhance the flavor or texture. Options include vanilla extract, nuts, dried fruits, or spices. However, be cautious when adding ingredients to melted chocolate, as the additional moisture or oil content might cause the chocolate to seize or become grainy. Ensure that any added ingredients are completely dry to prevent this.
V. Troubleshooting and Common Mistakes
A. Avoiding Chocolate Seizing and Graininess
To prevent chocolate from seizing or becoming grainy, ensure that all utensils and surfaces are completely dry before starting the melting process. Avoid introducing any moisture to the chocolate, as even a small amount can cause it to seize. If the chocolate does seize, try adding a small amount of vegetable oil or melted cocoa butter and gently stir until smooth.
B. Salvaging Overheated or Burned Chocolate
If the chocolate becomes overheated or burned, it is best to discard it and start with fresh chocolate. Overheating can cause the chocolate to become grainy and lose its smooth texture. Pay close attention to the temperature and heat source to prevent burning, and stir continuously during the melting process.
VI. Utilizing Melted Chocolate in Culinary Creations
A. Dipping and Coating Treats with Melted Chocolate
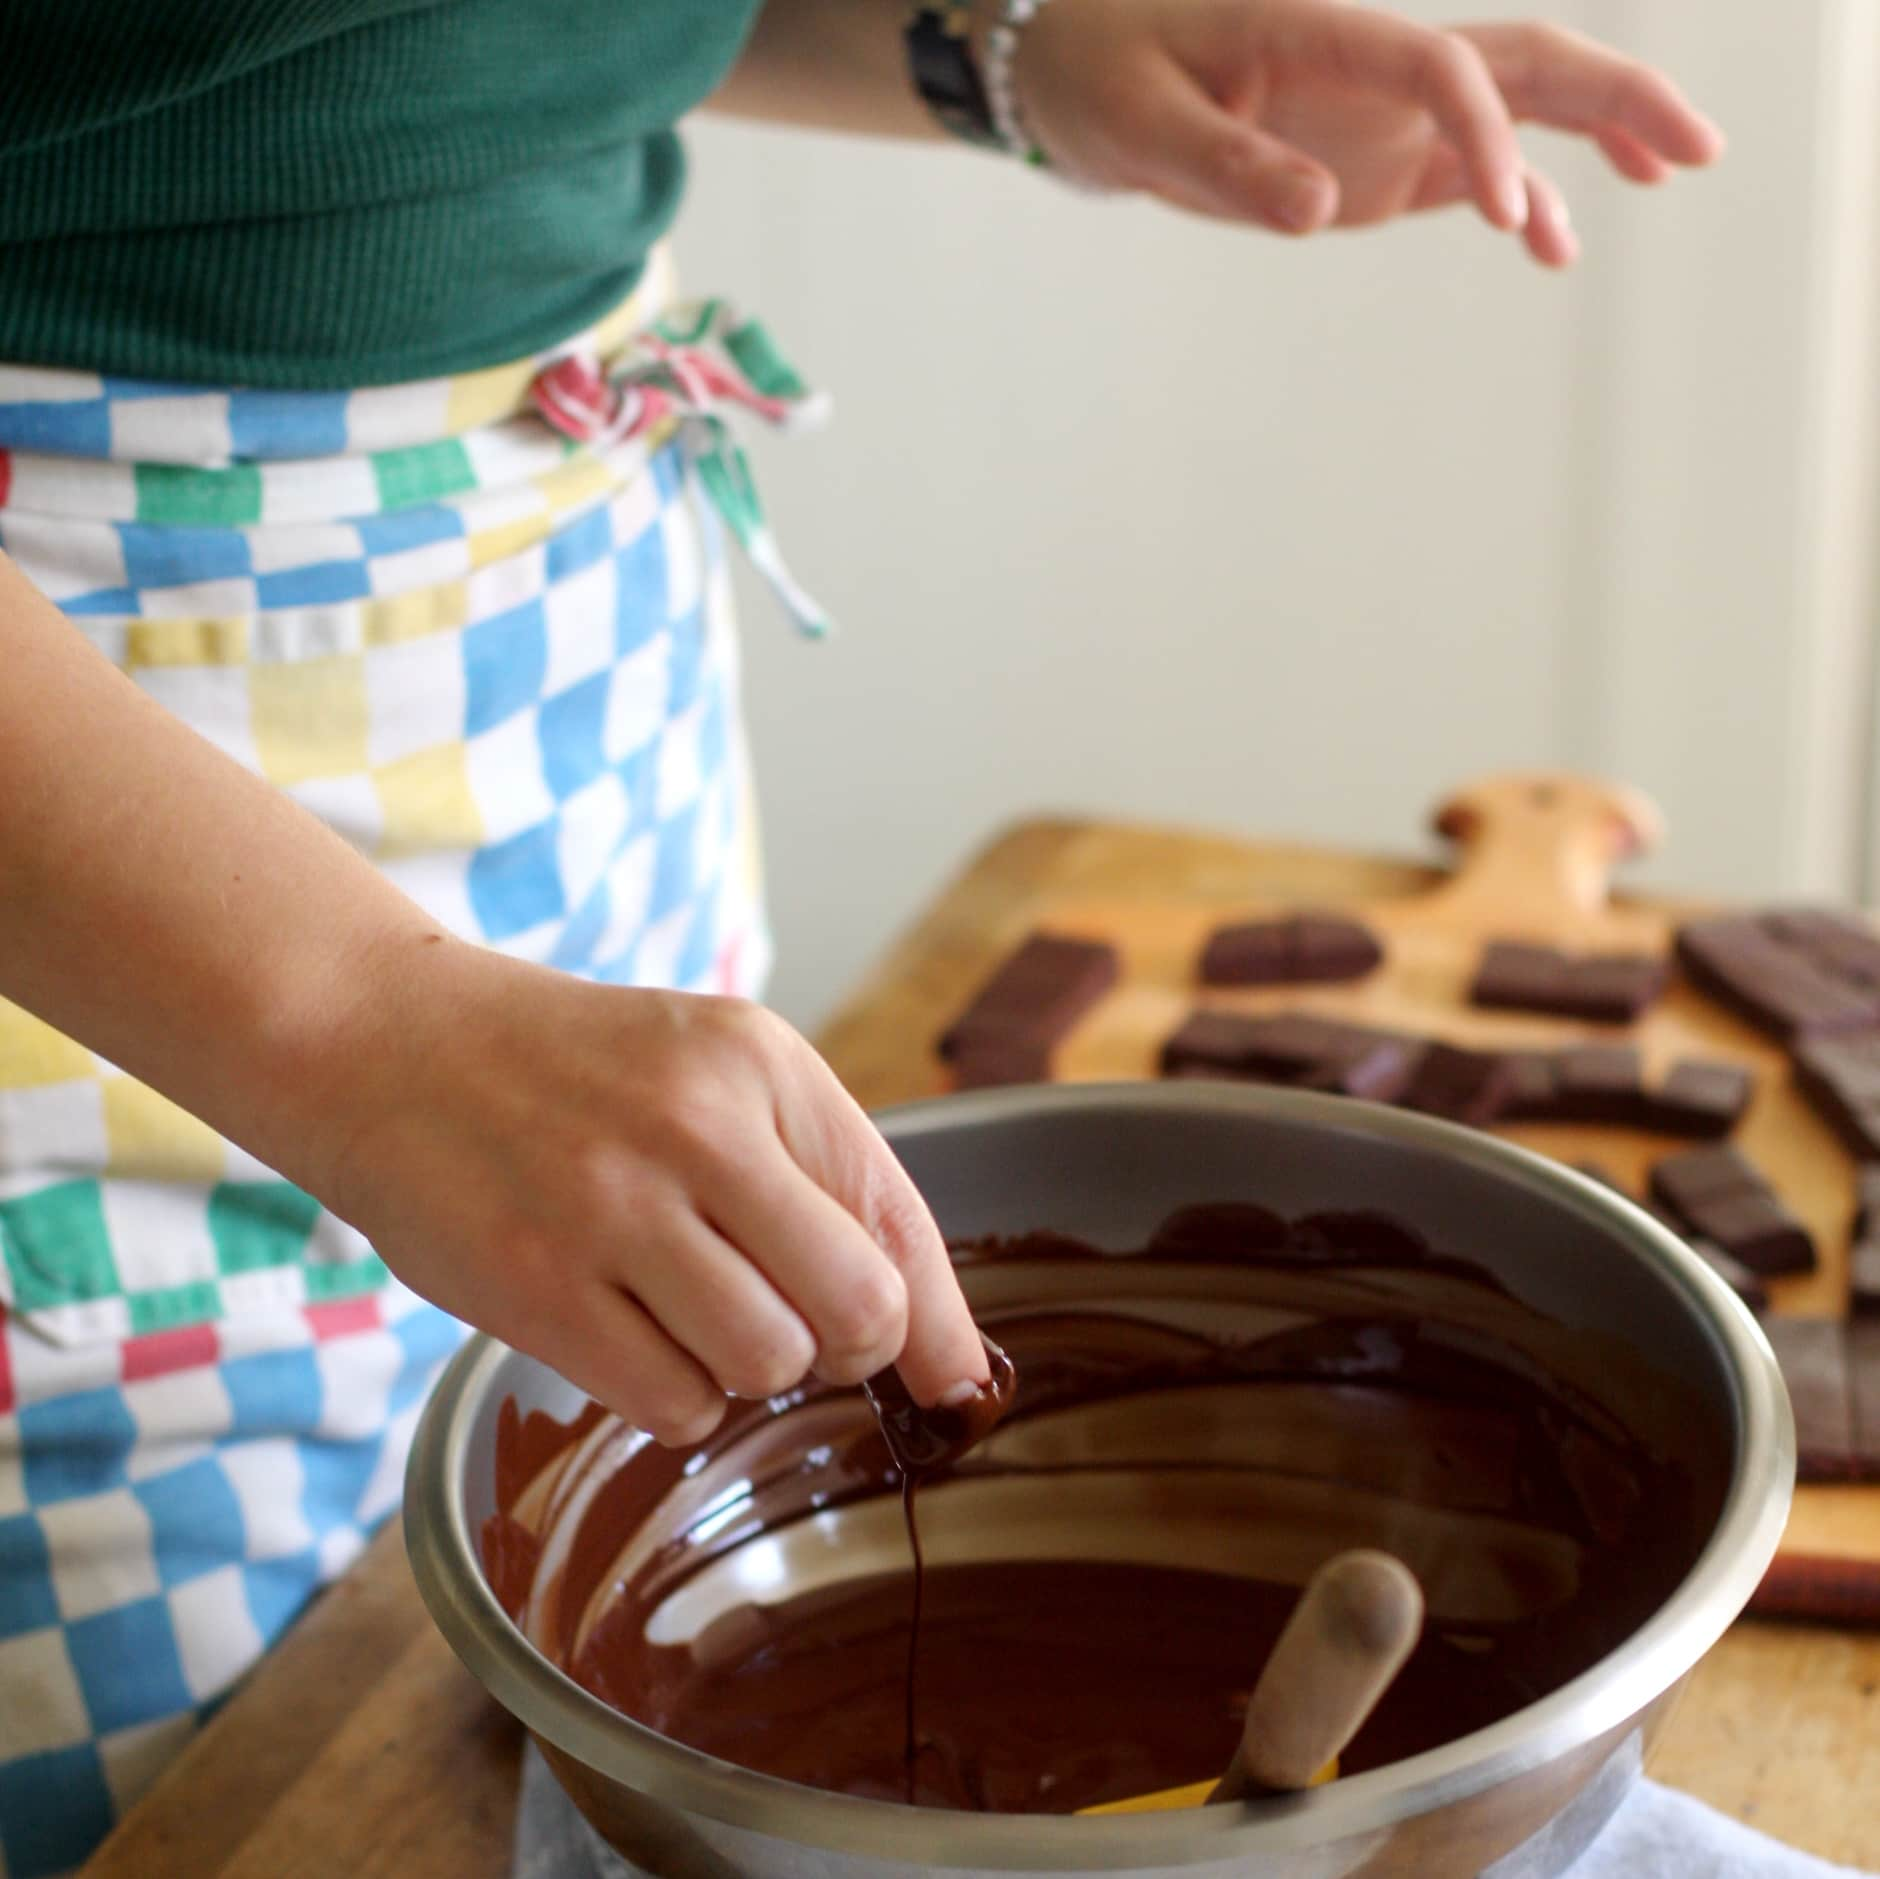
Melted chocolate is commonly used for dipping and coating various treats, such as fruits, cookies, or pretzels. Dip the desired item into the melted chocolate, allowing any excess to drip off. Place the coated treat on a parchment-lined baking sheet and refrigerate or let it set at room temperature until the chocolate hardens.
B. Incorporating Melted Chocolate into Baking and Desserts
Melted chocolate can be incorporated into a wide range of baking recipes and desserts to add flavor and richness. It can be used as a drizzle or glaze over cakes, cookies, or ice cream. Additionally, it can be mixed into batters or doughs to create chocolate-infused treats, such as brownies or muffins. Follow specific recipes and guidelines to ensure the correct ratio of melted chocolate to other ingredients.
Conclusion:
Mastering the art of melting chocolate on the stove opens up endless possibilities for your culinary creations. By selecting the right chocolate, employing proper techniques, and avoiding common mistakes, you can achieve smooth and velvety melted chocolate every time. So, grab your favorite chocolate, prepare your tools, and embark on a delightful journey of creating decadent treats and desserts with perfectly melted chocolate. Enjoy the process and savor the delicious results of your chocolatey endeavors.