Perfectly Preparing Brats: Boiling on the Stove Before Grilling
I. Introduction
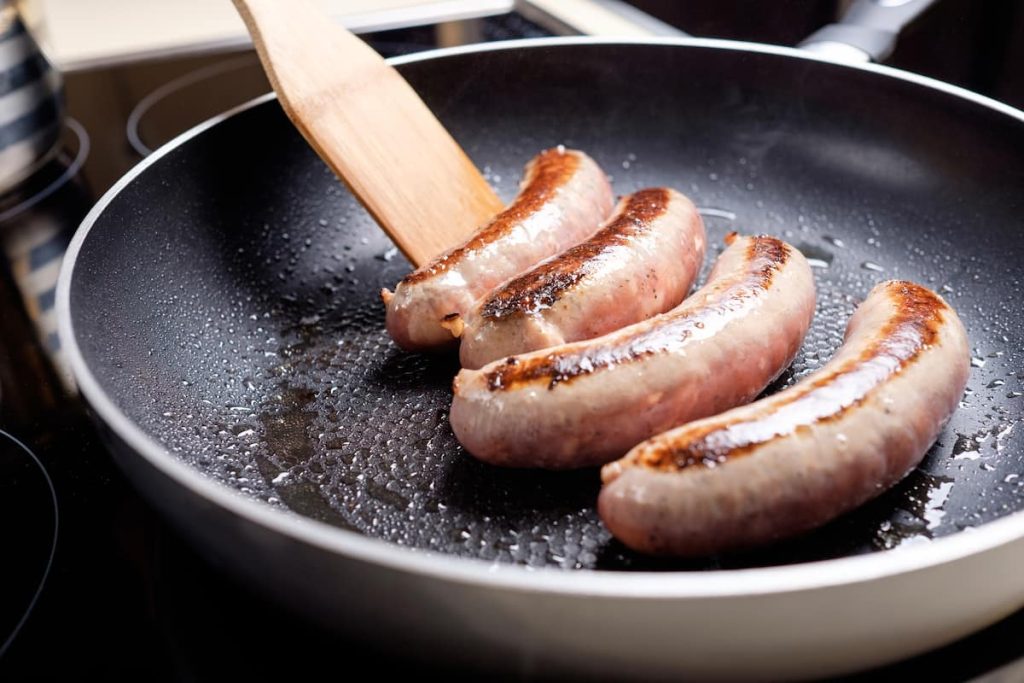
When it comes to cooking brats, boiling them before grilling is a popular method that ensures optimal flavor and texture. Boiling brats on the stove not only enhances their taste but also helps to ensure food safety by reaching the necessary temperature. In this article, we will dive into the process of preparing brats for grilling through boiling, providing a step-by-step guide to achieve the perfect result.
II. Preparing Brats for Grilling: Boiling on the Stove
A. Boiling Brats: The Basics
To start the process of preparing brats for grilling, it is important to select high-quality brats. Look for brats that are fresh, plump, and free from any discoloration or off smells. Quality brats are essential for a delicious end result.
Once you have selected your brats, it’s time to create a flavorful bratwurst bath to simmer them in. This bath helps to infuse the brats with additional taste and also aids in tenderizing them for the grilling process.
B. Step-by-Step Guide to Boiling Brats on the Stove
- Bringing the Bratwurst Bath to a Gentle Boil
Start by filling a pot with enough water to completely submerge the brats. The water should generously cover the brats, but avoid adding too much as it can dilute the flavor. Place the pot on the stove over medium heat and bring it to a gentle boil.
- Adding Aromatics to Enhance Flavor
While waiting for the water to boil, you can add various aromatics to the pot to infuse the brats with additional flavor. Common aromatics include sliced onions, garlic cloves, bay leaves, and herbs such as thyme or rosemary. These ingredients not only add depth to the brats but also create a fragrant cooking environment. Experiment with different combinations of aromatics to find your preferred flavor profile.
- Simmering Brats for Optimal Tenderness
Once the bratwurst bath has reached a gentle boil and the aromatics have been added, carefully place the brats into the pot. Reduce the heat to a low simmer and cover the pot with a lid. Simmer the brats for approximately 10-15 minutes, or until they are fully cooked through and have reached an internal temperature of 160 degrees Fahrenheit .
It is important to avoid boiling the brats vigorously, as this can cause them to burst or become tough. Simmering at a low heat ensures that the brats cook evenly and retain their tenderness.
III. Transferring Boiled Brats to the Grill
A. Preparing the Grill for Grilling
When it comes to cooking brats, grilling them is a popular choice that brings out their delicious flavors and adds a smoky and charred taste. However, before you can start grilling the brats, it is essential to prepare the grill properly.
- Preheating the Grill to the Correct TemperatureHow long to cook boneless chicken thighs on stove
To ensure that your brats cook evenly and properly on the grill, it is crucial to preheat the grill to the correct temperature. The ideal temperature for grilling brats is around 325 to 350 degrees Fahrenheit (163 to 177 degrees Celsius). Preheating the grill allows for even cooking and helps to achieve the desired internal temperature.
To preheat the grill, start by lighting the burners and closing the lid. Allow the grill to heat up for about 10 to 15 minutes until it reaches the desired temperature. This ensures that the grill grates are hot and ready to sear the brats, locking in the flavors and juices.
- Lubricating the Grates to Prevent Sticking
One common issue when grilling brats is sticking to the grates, which can cause the outer casing to tear and lose its juiciness. To prevent this from happening, it is essential to lubricate the grill grates properly.
Before placing the brats on the grill, use a pair of tongs to dip a folded paper towel in vegetable oil or spray cooking oil directly onto the grates. Carefully rub the oiled paper towel or the oil-coated grates to create a thin layer of lubrication. This helps to minimize the risk of sticking and ensures that the brats maintain their integrity throughout the grilling process.
B. Grilling Boiled Brats to Perfection
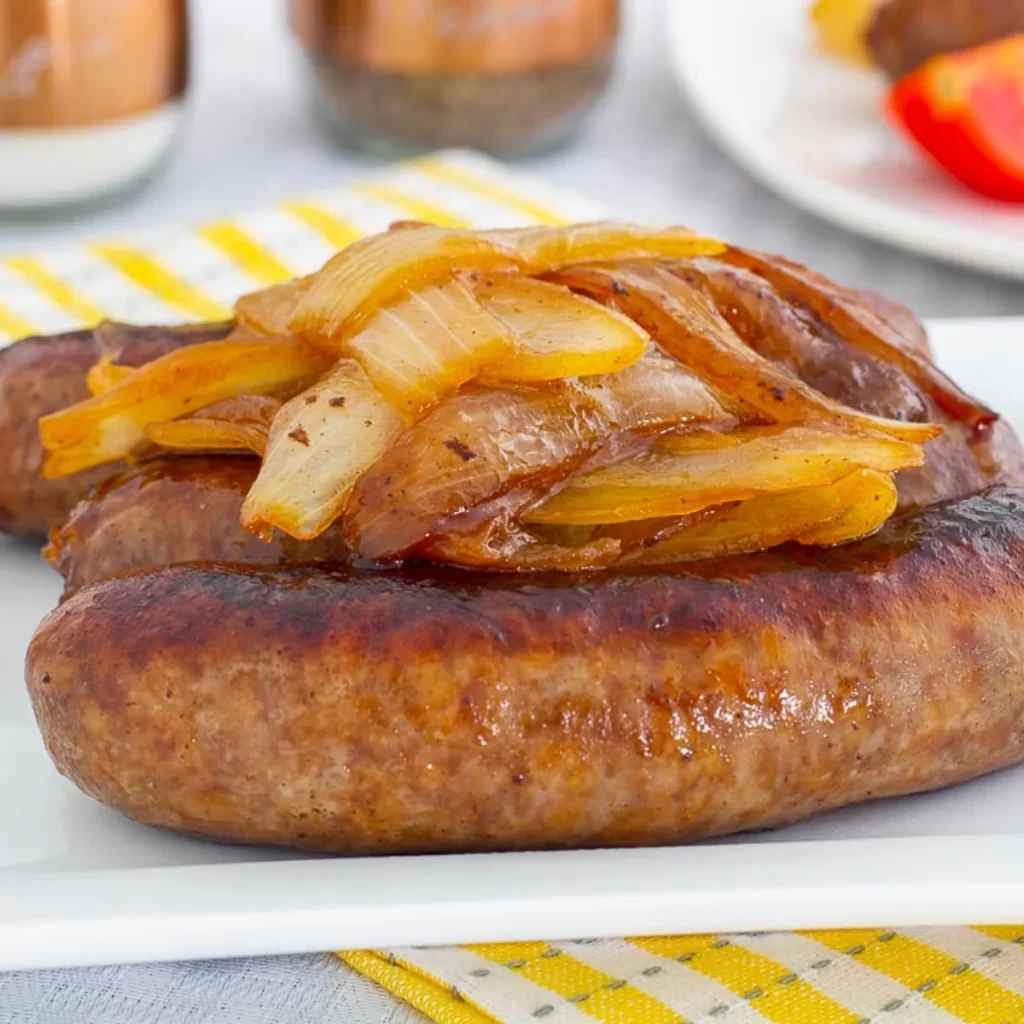
Now that the grill is preheated, and the grates are lubricated, it’s time to transfer the boiled brats onto the grill and achieve that perfect flavor and texture.
- Placing Brats Directly on the Grill
Using a pair of tongs, carefully transfer the boiled brats onto the hot grill grates. Ensure that there is enough space between each brat to allow for even cooking and proper airflow. Avoid overcrowding the grill, as it can lead to uneven cooking and longer grilling times.
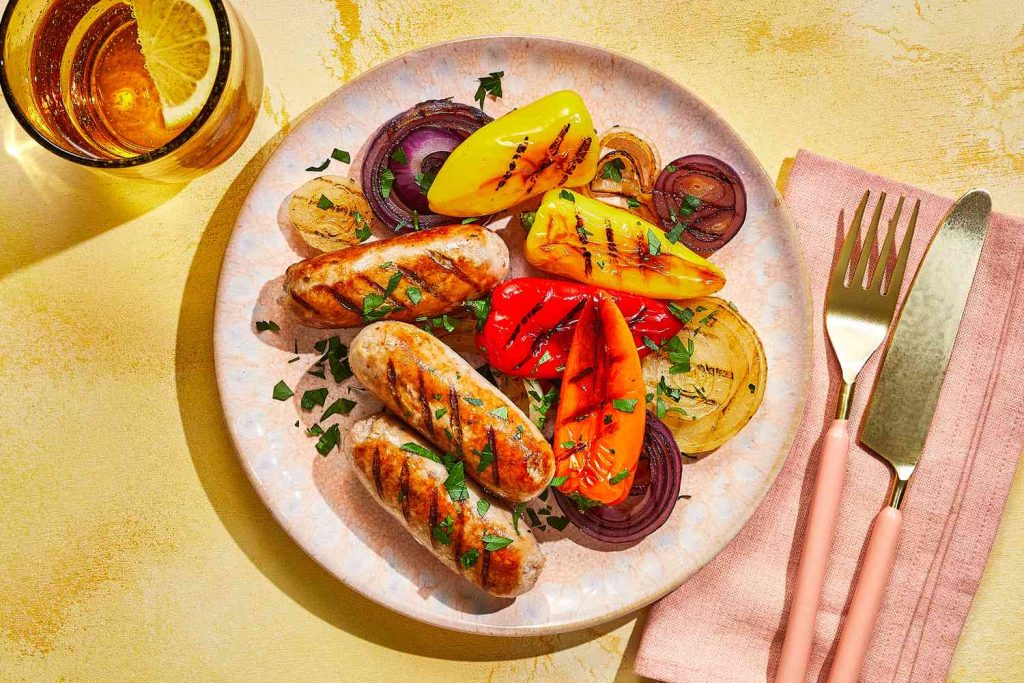
Place the brats diagonally on the grates to create those beautiful crosshatch grill marks. This not only adds an aesthetic appeal but also allows for more caramelization, enhancing the flavors of the brats.
- Achieving the Desired Grill Marks and Caramelization
Grill marks not only make the brats visually appealing but also add a hint of smokiness and caramelization. To achieve those perfect grill marks:
- Leave the brats on one side for about 4 to 5 minutes without flipping. This allows the brats to sear and develop those desired grill marks.
- After the first side is nicely grilled, use tongs to flip the brats gently. Ensure that the grill marks are evenly distributed on both sides.
- Continue grilling for another 4 to 5 minutes until the brats are fully cooked and have a beautiful caramelized exterior.
Remember to keep a close eye on the brats while grilling to prevent them from burning or drying out. Adjust the grill temperature as needed to maintain even cooking.
- Monitoring the Internal Temperature for Food Safety
While achieving the perfect grill marks is essential for taste and presentation, it’s equally important to ensure that the brats are cooked to a safe internal temperature to prevent foodborne illnesses.
Use an instant-read meat thermometer to check the internal temperature of the brats. The safe minimum temperature for cooked brats is 160 degrees Fahrenheit (71 degrees Celsius). Insert the thermometer into the thickest part of the brat without touching the bone or the grill grate. Once the brats reach the desired temperature, they are ready to be served and enjoyed.
IV. Serving and Enjoying Boiled and Grilled Brats
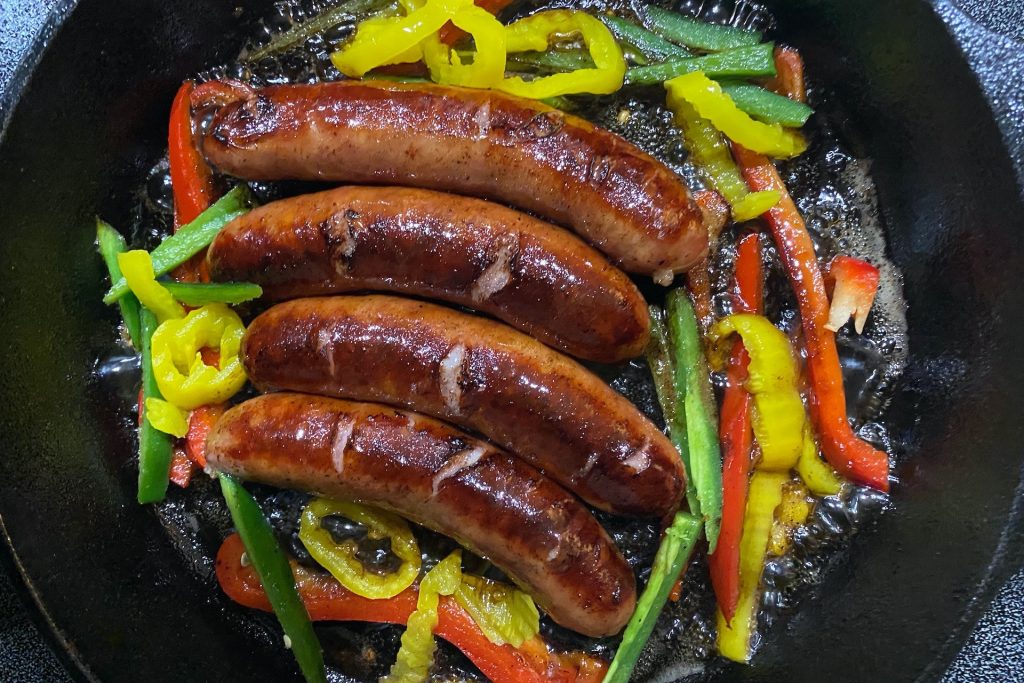
After all the hard work of boiling and grilling the brats, it’s time to serve and enjoy them to the fullest. Here are a few tips to make your brats extra special:
- Choosing the Perfect Bun and Condiments
Selecting the right bun is crucial for a satisfying brat experience. Choose a high-quality bun that is fresh and soft. Traditional options like brat buns or hoagie rolls work best.
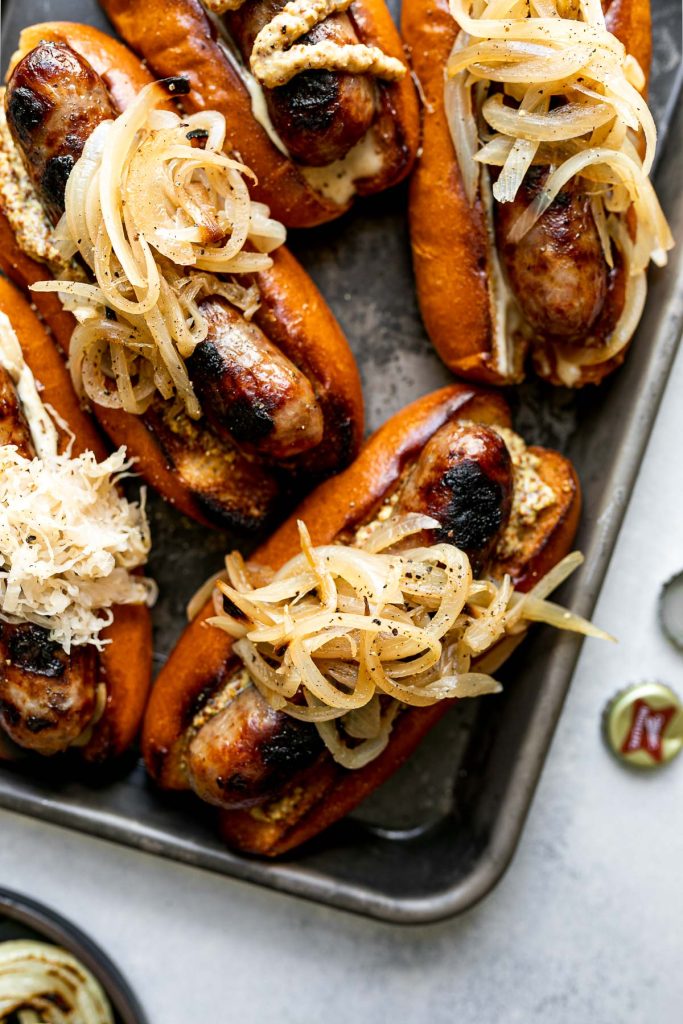
When it comes to condiments, go for classic favorites like sauerkraut, mustard, and ketchup. You can also experiment with other toppings such as grilled onions, relish, or spicy sauces to add some flavor and variety.
- Making the Brats Extra Special with Various Toppings
Elevate your bratwurst by adding a variety of toppings to enhance the flavors and create exciting combinations. Consider options like:
- Grilled peppers and onions: Sauté peppers and onions with a bit of olive oil until they are caramelized and tender. Spoon them onto the bratwurst, adding a burst of flavor and texture.
- Cheese: Melt some cheese over the brats during the last few minutes of grilling. Cheddar, Swiss, or pepper jack cheese work great with bratwurst.
- Pickles: Add a tangy and crunchy element to your brat by topping it with sliced pickles. The acidity cuts through the richness of the bratwurst for a well-balanced bite.
- Spicy coleslaw: Combine shredded cabbage, carrots, mayonnaise, cider vinegar, and a touch of cayenne pepper for a zesty topping that adds a refreshing contrast to the bratwurst.
Get creative and experiment with different toppings to find your favorite combination. Remember, it’s all about personal preference and enjoying the brats in a way that suits your taste buds.
