A Step-by-Step Guide to Installing a Gas Stove
I. Introduction
A. Importance of proper installation for gas stove safety:
It is crucial to properly install a gas stove to ensure the safety of your home and family. A poorly installed stove can lead to gas leaks, fire hazards, and other dangerous situations.
B. Overview of the installation process:
Installing a gas stove involves several steps, including preparing for installation, disconnecting the old stove, and cleaning and preparing the installation area. It is essential to follow the correct procedures and safety precautions to ensure a successful and safe installation.
II. Preparing for Installation
A. Gather the necessary tools and materials
- List of required tools:
Before starting the installation process, make sure to gather all the necessary tools. This may include a pipe wrench, adjustable wrench, gas leak detector, level, and a tape measure. Check the manufacturer’s instructions for any specific tools required for your specific stove model. - Ensure availability of appropriate materials and connections:
In addition to tools, ensure that you have the appropriate materials and connections for the installation. This may include a gas line connector, pipe joint compound or gas-rated thread tape, and any other required fittings or connectors.
B. Ensure safety precautions
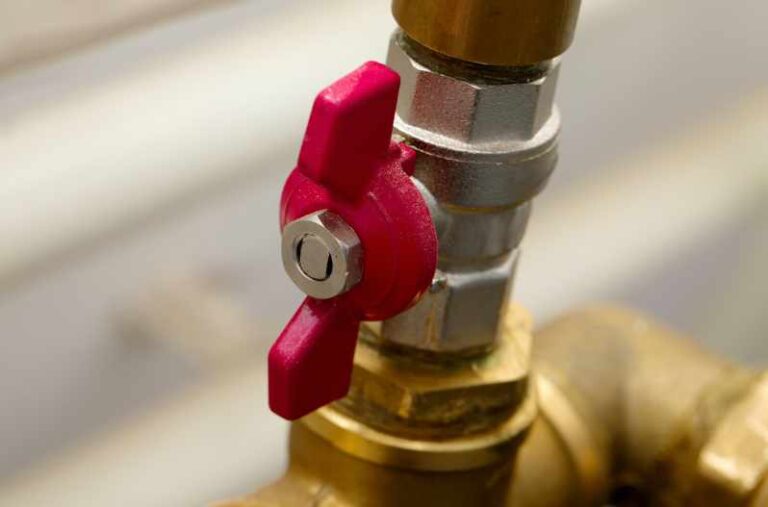
- Shut off the gas supply:
Before starting any work, it is crucial to shut off the gas supply to the stove. Locate the gas shut-off valve, usually located near the gas meter or in the basement, and turn it off to stop the flow of gas. - Keep the installation area well-ventilated:
During the installation process, it is important to keep the installation area well-ventilated to prevent the accumulation of gas fumes. Open windows and doors or use a fan to ensure proper air circulation.
III. Removing the Old Stove and Preparing the Installation Area
A. Disconnecting the old gas stove
- Shut off the gas supply to the old stove:
Before disconnecting the old stove, make sure the gas supply is turned off to ensure safety. This can be done by locating the shut-off valve near the stove and turning it off. - Disconnect the gas line and remove the old stove:
Once the gas supply is turned off, use a pipe wrench or adjustable wrench to disconnect the gas line from the old stove. Carefully slide the old stove away from its position and remove it from the installation area.
B. Cleaning and preparing the installation area
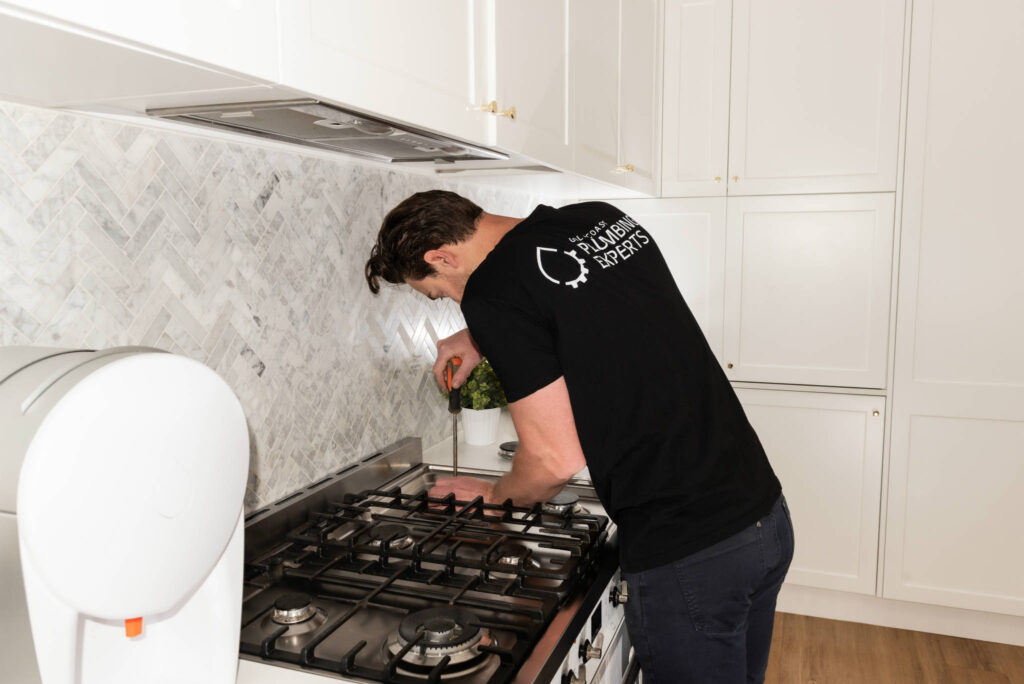
- Clear the area around the gas line connection:
Before installing the new stove, clear any debris or obstacles around the gas line connection to ensure a smooth installation process. This may involve removing cabinets or other items temporarily. -
Clean and level the surface where the new gas stove will be installed:
Clean the surface where the new stove will be placed to ensure a level and stable installation. Use a level to check the surface and adjust as needed by adding shims or making necessary modifications.
IV. Installing the Gas Stove
A. Connecting the gas line to the stove
- Install the gas line connector: Before connecting the gas line to the stove, you will need to install a gas line connector. This connector will allow for a secure and leak-free connection between the gas line and the stove.
- Apply pipe joint compound or gas-rated thread tape: To ensure a tight and leak-free connection, it is important to apply pipe joint compound or gas-rated thread tape to the threads of the gas line connector. This compound or tape will provide an extra layer of sealing to prevent any gas leaks.
B. Securing the gas stove in place
- Slide the gas stove into position:
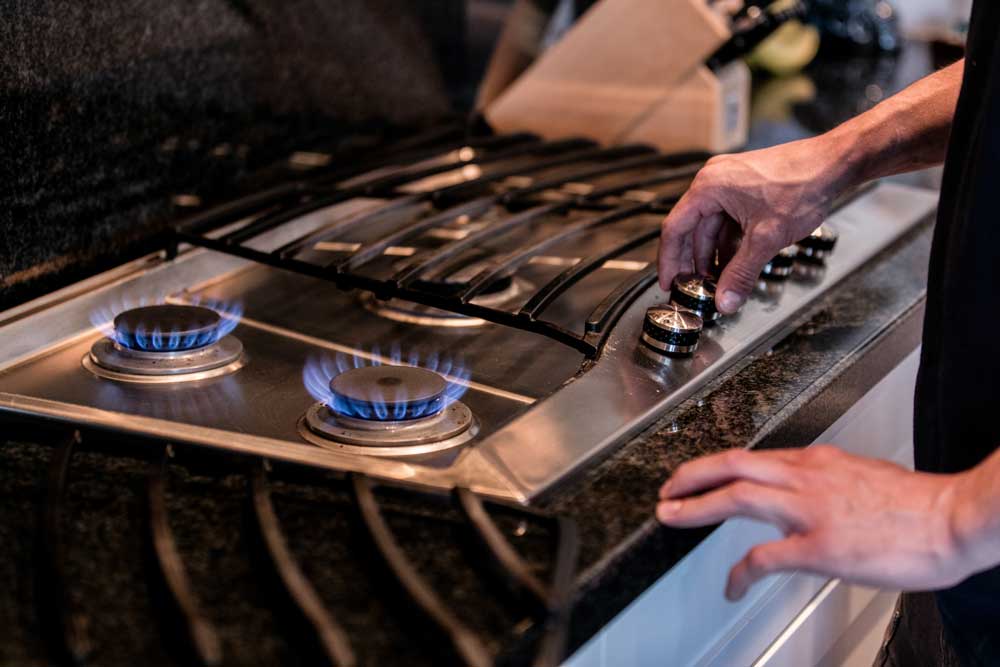
Once the gas line is properly connected to the stove, you can slide the stove into its desired position in the kitchen. Make sure to leave enough space between the stove and any nearby combustible materials such as cabinets or walls. - Ensure proper alignment and stability:
Once the stove is in position, ensure that it is properly aligned and stable. Use a level to check if the stove is flat and adjust the height of the stove feet if necessary. This step is crucial to avoid any potential accidents or damage during use.
C. Testing for gas leaks
- Apply a soapy water solution to gas connections:
To test for potential gas leaks, mix a solution of soapy water. Apply this solution to all gas connections, including the gas line connector and any other connections such as the burner valves. - Check for any bubbling or hissing, indicating a gas leak:
After applying the soapy water solution, observe the gas connections closely. If you notice any bubbling or hissing, it could indicate a gas leak. In such cases, turn off the gas supply immediately and tighten the connections. If the problem persists, seek professional help to fix the issue.
V. Final Steps and Safety Checks
A. Reconnecting the gas supply and checking for proper operation
- Reconnect the gas supply line to the stove:
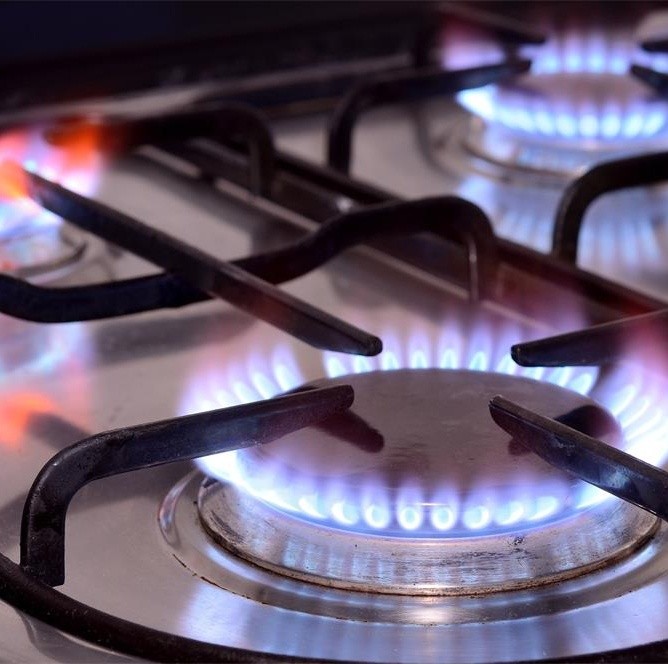
Once the gas connections have been tested and are leak-free, you can proceed to reconnect the gas supply line to the stove. Ensure that the connection is secure and tightly fitted. - Check the burners and oven for proper ignition and flame intensity:
After reconnection, test the burners and oven for proper ignition and flame intensity. Turn each burner and the oven on separately to make sure they are working correctly. If you notice any issues, such as weak flames or difficulty igniting, contact a professional for assistance.
B. Checking ventilation and exhaust options
- Verify the integrity and proper functioning of the range hood or ventilation system:
A gas stove produces combustion gases and moisture that need to be properly vented to maintain indoor air quality. Verify that your range hood or ventilation system is in good condition and functioning effectively. Clean or replace any filters as needed. - Ensure appropriate exhaust ventilation to maintain indoor air quality: Proper ventilation is essential to remove cooking odors, excess moisture, and combustion gases. Make sure that your kitchen has appropriate exhaust ventilation in place to maintain a healthy indoor environment. Consider installing a carbon monoxide detector for added safety.
By following these step-by-step guidelines and conducting the necessary safety checks, you can safely install a gas stove in your kitchen. Remember that if you are unsure or uncomfortable with any part of the installation process, it is always best to seek professional assistance to ensure a safe and proper installation.
