A Complete Guide to Stove Burner Replacement
I. Signs Your Stove Burners Need Replacement

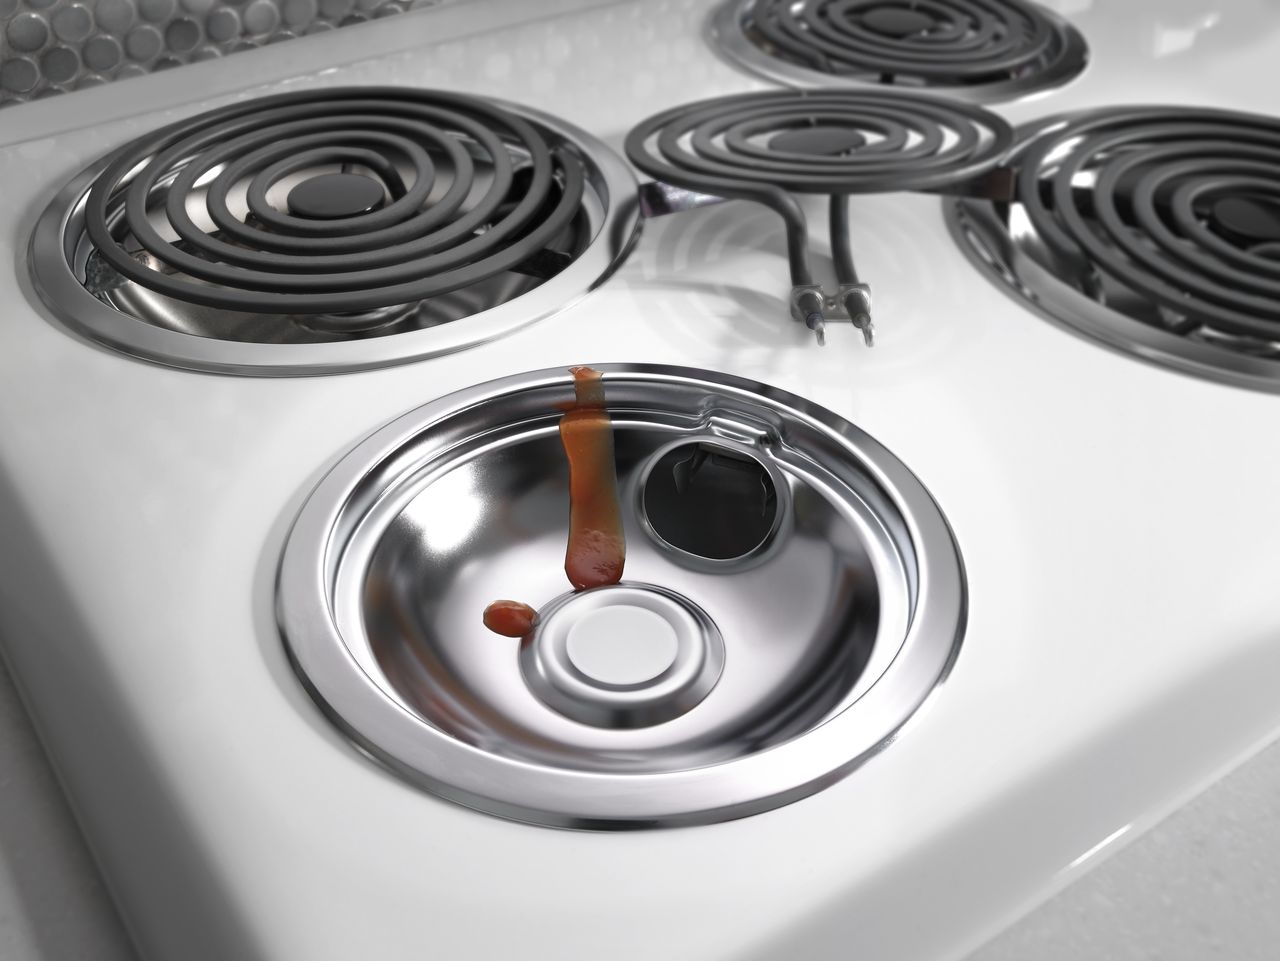
A. Uneven Heating and Hot Spots: Indications of Burner Malfunction
Uneven heating and hot spots on your stove burners are clear signs that they may need replacement. If you notice that certain areas of the burner are heating up more quickly or intensely than others, it can result in inconsistent cooking results. Food may burn in certain spots while remaining undercooked in others. This issue is often an indication of a faulty burner element, and replacing it can restore even heat distribution and consistent cooking performance.
B. Burner Clogs and Ignition Issues: Troublesome Signs That Warrant Replacement
Clogs in the burner ports or ignition issues are troublesome signs that your stove burners may need replacement. Burner clogs can cause an insufficient flow of gas or hinder the ignition process, resulting in weak or non-existent flames. If you find that the burner flames are consistently yellow or uneven, it indicates a blockage or malfunction in the burner components. When cleaning the burners does not resolve the issue, replacing them is a necessary step to restore proper functionality and reliable ignition.
II. Preparing for Stove Burner Replacement
A. Turn Off the Power: Ensuring Safety During the Replacement Process
Before replacing stove burners, it is essential to ensure safety by turning off the power to the stove. This can be done by either unplugging the stove from the electrical outlet or turning off the circuit breaker that supplies power to the appliance. Taking this precautionary step minimizes the risk of electrical shocks or accidents during the replacement process.
B. Gather Tools and Materials: Essential Items for a Successful Replacement
To replace stove burners effectively, you will need a few essential tools and materials. These may include a pair of pliers or a screwdriver, replacement burner elements or coils, and possibly a voltage tester to ensure that the power has been properly disconnected. It is important to gather these tools and materials before starting the replacement process to ensure a smooth and efficient experience.
III. Removing the Old Stove Burners

A. Accessing the Burners: Understanding the Design and Layout of Your Stove
To access and remove the old stove burners, it is necessary to understand the design and layout of your particular stove model. Most stove burners can simply be lifted or pulled out from their designated slots on the cooktop. However, some models may have retaining clips or screws that need to be loosened or removed first to release the burner.
B. Disconnecting the Burners: Safely Removing the Wiring Connections
Before fully removing the old stove burners, it is important to safely disconnect the wiring connections. This typically involves loosening or removing wire nuts or screws that secure the burner to the wiring. Care should be taken to avoid damaging or stretching the electrical wires during this process. It is advisable to take pictures or make notes of the wiring connections to ensure proper reconnection with the replacement burners.

IV. Selecting the Right Stove Burner Replacement
A. Compatibility and Size: Matching the Replacement Burner to Your Stove Model
When selecting replacement stove burners, compatibility and size are crucial factors. It is essential to choose burners that are specifically designed for your stove model to ensure proper fit and function. Pay close attention to the make, model, and dimensions of the original burners to select compatible replacements that will seamlessly integrate into your stove.
B. Choosing Between OEM and Aftermarket Options: Weighing the Pros and Cons
When replacing stove burners, you will have the option to choose between Original Equipment Manufacturer (OEM) replacements or aftermarket options. OEM burners are manufactured by the same company that produces the stove itself and are designed for precise compatibility. Aftermarket burners, on the other hand, are produced by third-party manufacturers and may offer competitive pricing or additional features. When making your decision, weigh the benefits of OEM quality against the potential cost savings or added features offered by aftermarket options.
V. Installing the New Stove Burners

A. Wiring Connections: Securely Attaching the Wires to the New Burners
After removing the old stove burners, it’s time to install the new ones. Begin by securely attaching the wires to the replacement burners. This process involves matching the wires from the stove to their corresponding terminals on the new burners. If the wires have disconnected from the original burner, refer to the pictures or notes taken earlier to ensure proper reconnection. Use pliers or a screwdriver, depending on the type of electrical connections, to attach the wires firmly to the terminals. Take care not to strip or over-tighten the wires, as this can lead to electrical issues.
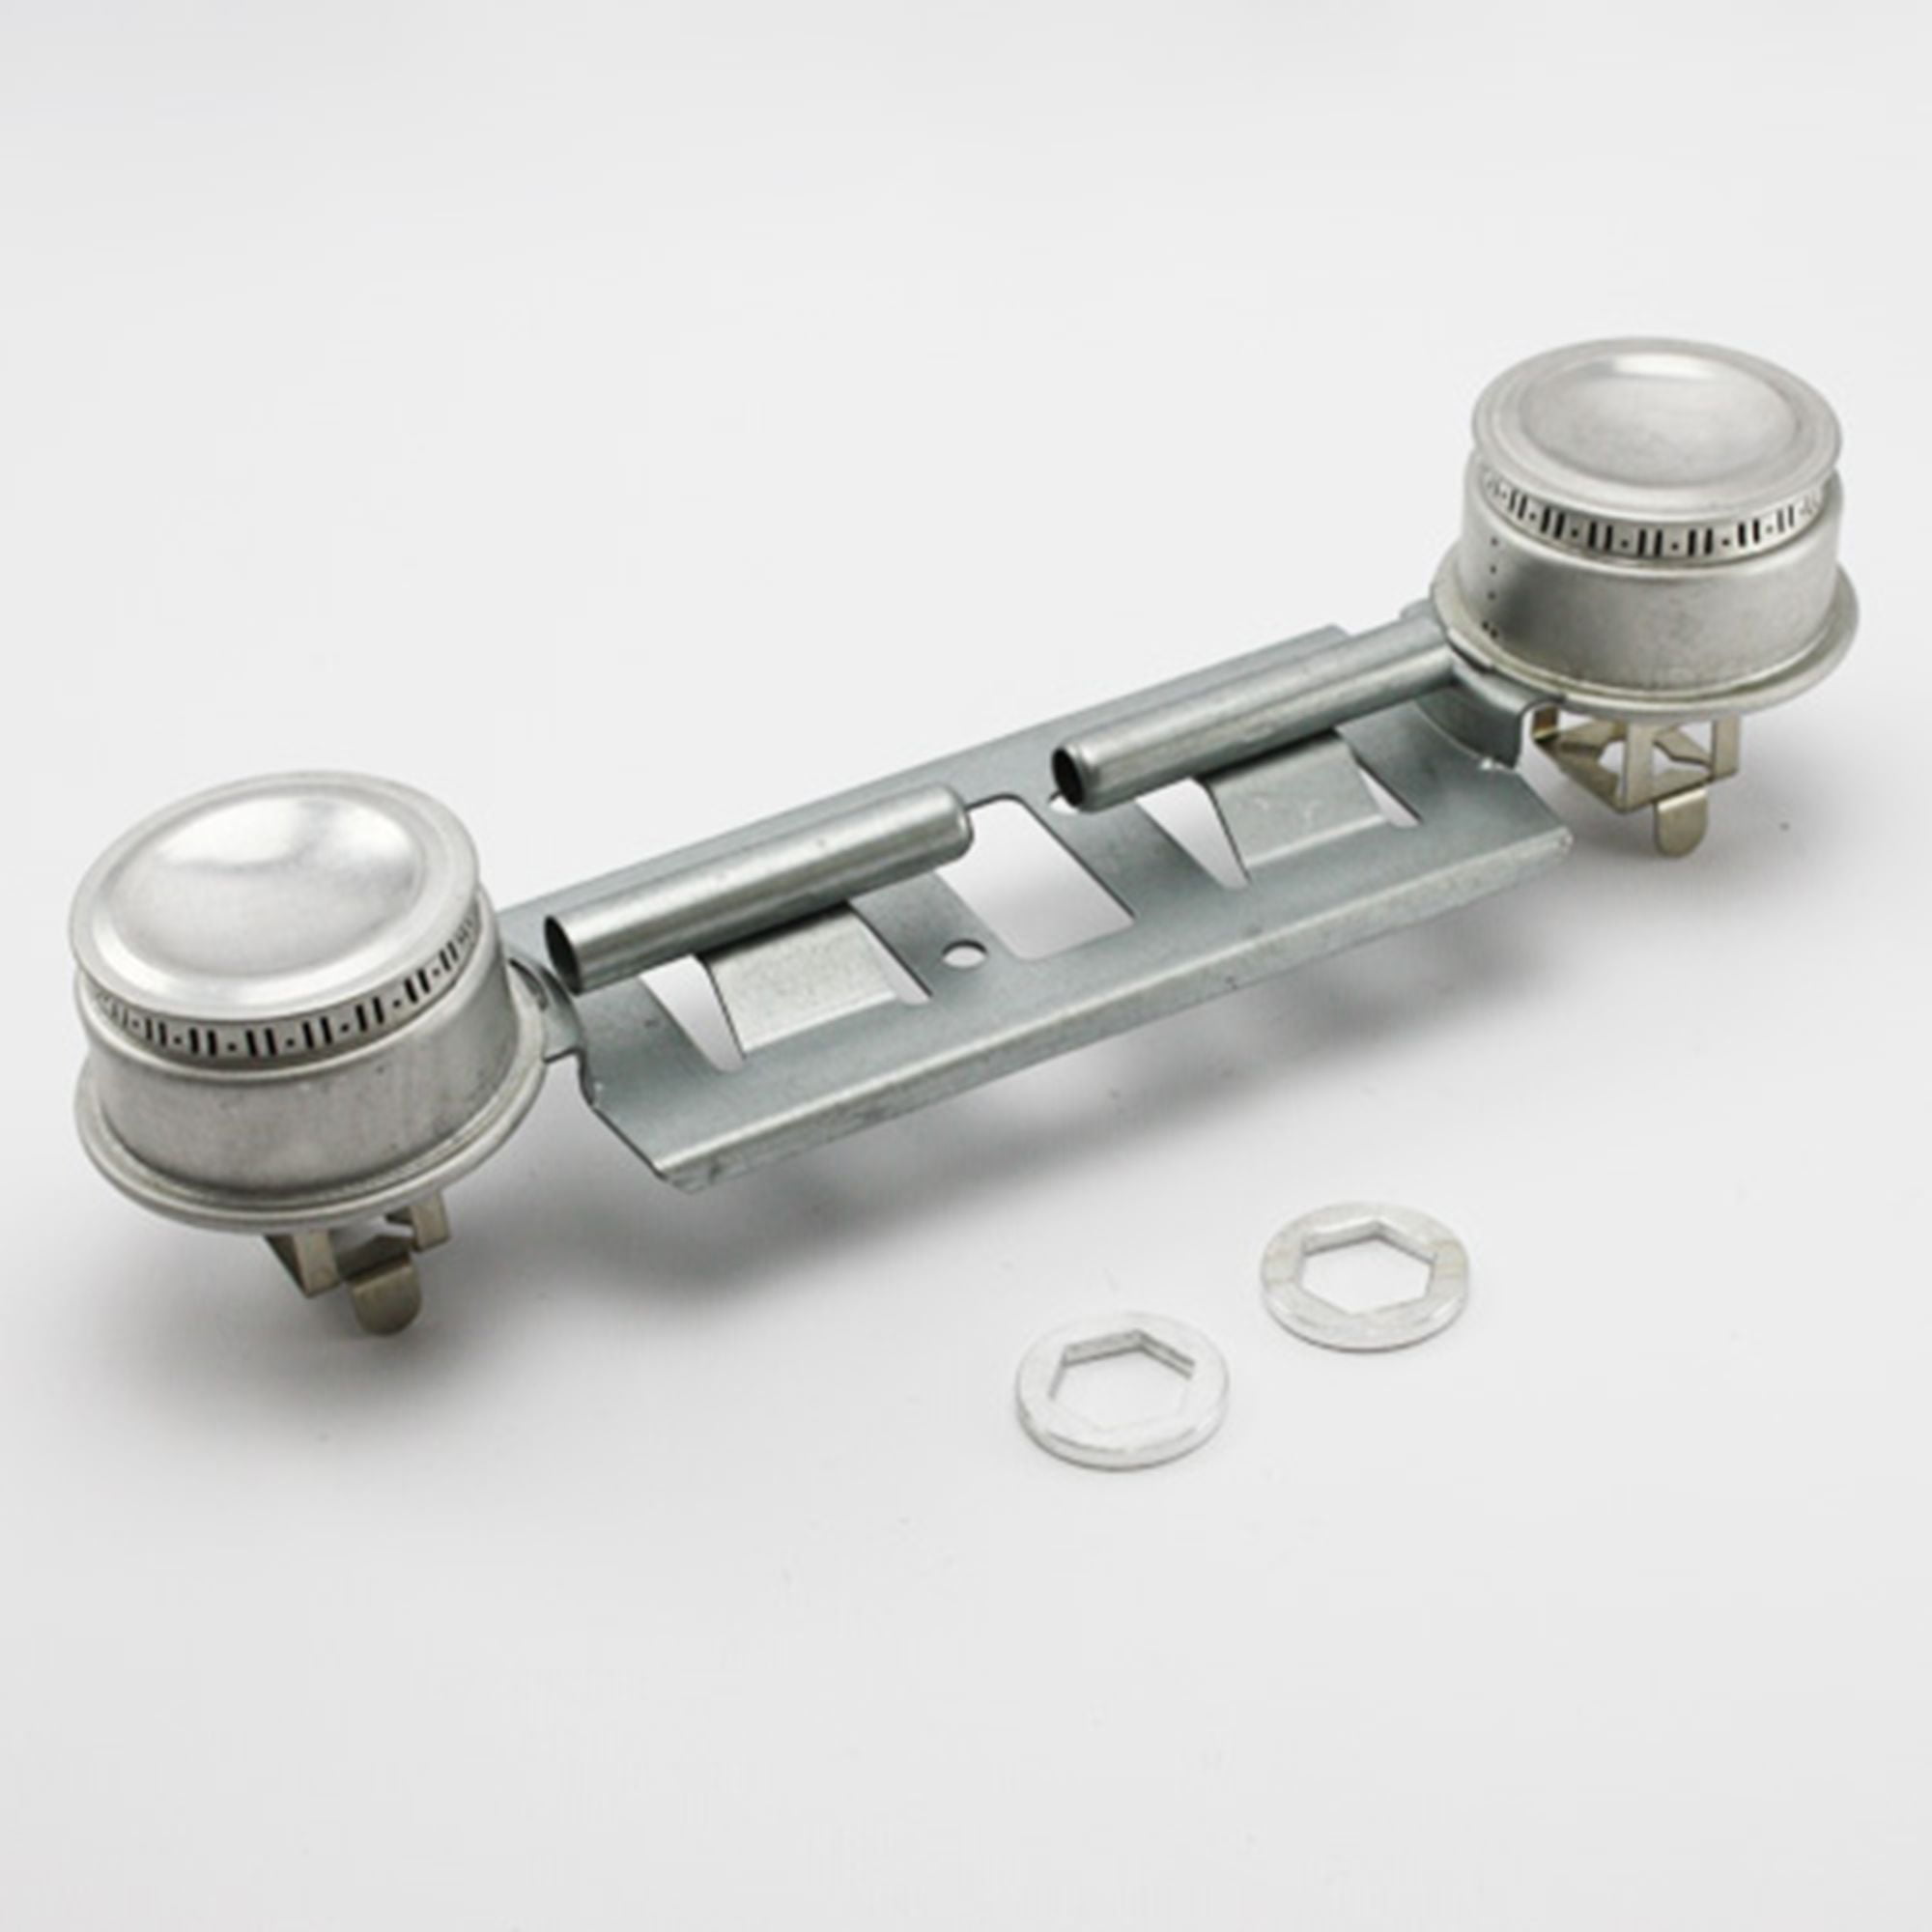
B. Placing the Burners: Proper Alignment and Installation of the Replacement Burners
Once the wiring connections are secure, it’s time to correctly align and install the replacement burners. Carefully position the replacement burner elements or coils into the designated slots on the cooktop. Ensure proper alignment by aligning the terminals on the burner with the corresponding receptacles or clips on the stove. Apply gentle downward pressure to fully seat the burners, ensuring they are snugly in place. For models with retaining clips or screws, make sure to reattach them securely to hold the burners in position.
VI. Testing and Fine-Tuning
A. Restoring Power: Safely Reconnecting the Electricity to Your Stove
With the new burners installed, it’s essential to safely restore power to your stove. Begin by firmly plugging in the electrical cord or turning on the circuit breaker to supply electricity to the appliance. Ensure the stove is receiving power by checking the indicator lights or digital display, depending on the stove model. Be cautious and follow safety guidelines when dealing with electricity. If you encounter any issues or are unsure, it is advisable to consult a professional electrician.
B. Fine-Tuning and Adjustments: Ensuring Proper Functionality and Even Heating
After restoring power, it’s time to fine-tune and make adjustments as necessary. Turn on each burner individually and observe the flame or heat output to ensure proper functionality. Check for even heating across the burner surface and watch for any irregularities, such as yellow or flickering flames. If you notice any issues, triple-check the wiring connections and make any necessary corrections or adjustments. It may also be appropriate to consult the stove’s user manual or reach out to the manufacturer’s customer support for assistance.
Conclusion:
With the step-by-step guide provided in this article, you are well-equipped to replace your stove burners and restore their functionality. Identifying signs of burner malfunction, preparing for the replacement process, selecting the right replacements, and safely installing and testing them are crucial steps to ensure a successful outcome. By following these guidelines, you can tackle this DIY project confidently and enjoy reliable heating and cooking performance once again. Remember to prioritize safety throughout the process and seek professional assistance if needed. With your newly replaced stove burners, you’ll be ready to cook with precision and efficiency.