A Step-by-Step Guide to Installing a Gas Stove
Installing a gas stove can be a complex task that requires attention to detail and careful planning. However, proper installation is essential to ensure the safety and efficiency of your appliance. In this blog post, we will discuss the steps involved in installing a gas stove, from gathering the necessary tools and materials to disconnecting and removing the old stove, and preparing the new stove for installation.
I. Introduction
A. Importance of proper installation
Proper installation of a gas stove is crucial for several reasons. Firstly, it ensures the safe and efficient operation of the appliance. A poorly installed gas stove can lead to gas leaks or other safety hazards. Secondly, a properly installed stove will perform optimally, allowing you to cook your meals effectively. Lastly, proper installation is necessary to comply with local regulations and codes.
B. Basic safety precautions
Before beginning the installation process, it is essential to take some basic safety precautions. Firstly, always make sure to shut off the gas supply before disconnecting your old stove. Gas leaks can be extremely dangerous, so it is crucial to handle the gas supply with caution. Secondly, use the appropriate safety gear, such as gloves and safety glasses, when working with tools or handling heavy appliances. Lastly, always follow the manufacturer’s instructions and consult a professional if you are unsure about any aspect of the installation process.
II. Preparing for Installation
A. Gathering necessary tools and materials
Before you can begin the installation process, you will need to gather all the necessary tools and materials. Some of the essential tools include a pipe wrench, adjustable wrench, screwdriver, and a level. In terms of materials, you may need a new gas line, pipe joint compound, and potentially some additional hardware depending on the specific requirements of your stove.
B. Checking local regulations and codes
Before installing a new gas stove, it is important to familiarize yourself with the local regulations and codes governing gas appliance installation. These regulations can vary depending on your location, so it is crucial to ensure that you are compliant with all relevant guidelines. Failure to comply with these regulations can result in serious consequences, including fines or even the denial of homeowner’s insurance claims.
III. Disconnecting and Removing the Old Stove
A. Shutting off the gas supply
Before disconnecting your old stove, you must shut off the gas supply. Locate the main gas shut-off valve, which is usually located near the gas meter or the entrance to your home. Turn the valve to the “off” position to cut off the gas supply.
B. Disconnecting the gas line
After shutting off the gas supply, you can proceed to disconnect the gas line from your old stove. Use an adjustable wrench to loosen the fittings on both ends of the gas line. Carefully remove the line, taking care not to damage it or create any gas leaks.
C. Removing the old stove
Once the gas line is disconnected, you can proceed to remove the old stove from its position. This may involve lifting the stove and carefully maneuvering it out of its location. Enlist the help of another person if necessary to ensure a safe and smooth removal process.
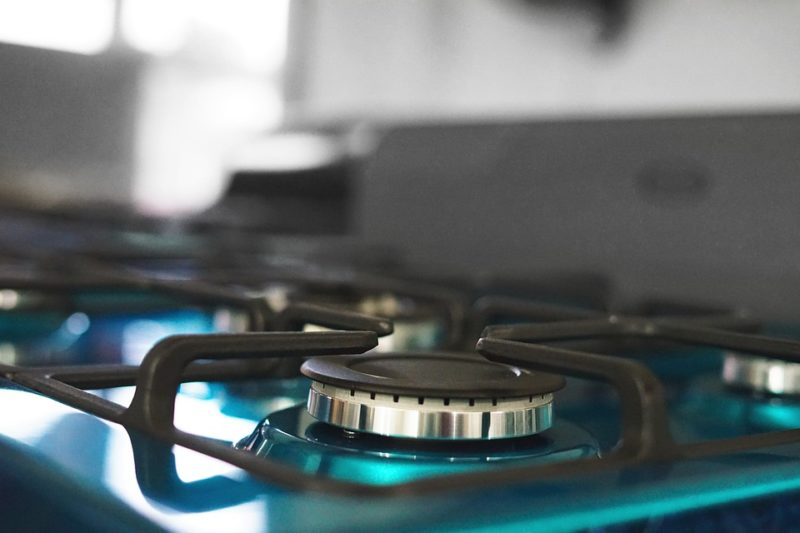
IV. Preparing the New Stove for Installation
A. Inspecting the new gas stove
Before installing your new gas stove, thoroughly inspect it for any damage or defects. Check for any dents, scratches, or missing parts. It is crucial to address any issues before proceeding with the installation.
B. Assembly and placement in the desired location
Once you have inspected the new stove, you can proceed to assemble any necessary components and position it in the desired location. Use a level to ensure that the stove is perfectly level to ensure optimal performance.
C. Adjusting the leveling legs
Most gas stoves come equipped with leveling legs to allow for adjustments. Use the leveling legs to ensure that the stove is stable and level. This will not only improve the stove’s performance but also prevent any accidents or damage caused by an unstable appliance.
V. Connecting the Gas Supply
Once you have prepared the new stove, the next step is to connect the gas supply. This is a crucial step that requires attention to detail to ensure proper functioning and safety.
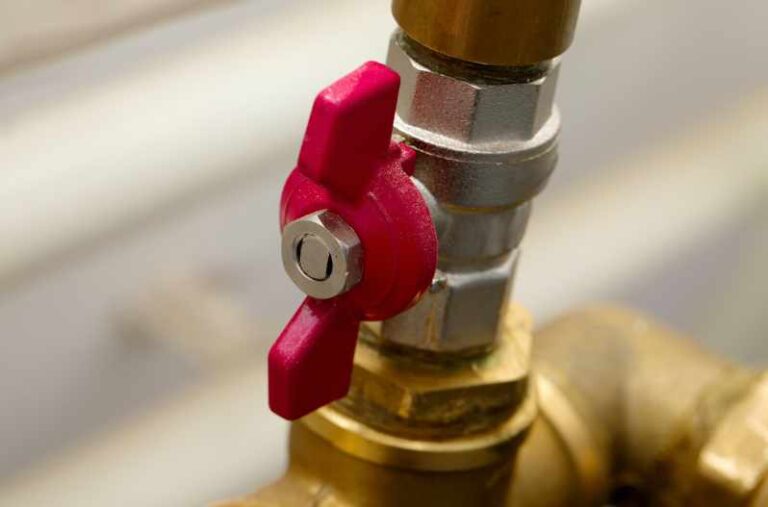
A. Checking for leaks
Before installing the gas line, it is essential to check for any leaks. Apply a mixture of water and dish soap to all connections and fittings. If you see bubbles forming, it indicates a gas leak. In such cases, immediately shut off the gas supply and consult a professional to fix the issue.
B. Installing the gas line
When installing the gas line, it is important to follow the manufacturer’s instructions and consult local regulations. Use a pipe wrench to securely fasten the gas line to the stove’s connection point. Apply pipe joint compound or gas-rated tefflon tape to all the threaded connections to ensure a tight seal.
C. Testing for gas leaks
After installing the gas line, it is crucial to test for gas leaks again. Turn on the gas supply and carefully inspect all the connections for any signs of leaking gas. If you detect a gas leak, immediately turn off the gas supply and seek professional assistance to rectify the issue.
VI. Setting Up the Ventilation
Proper ventilation is essential when installing a gas stove. It helps to remove odors, smoke, and gases produced during cooking, ensuring a healthier and more comfortable environment in your kitchen.
A. Evaluating the ventilation requirements
Before setting up ventilation, evaluate the specific ventilation requirements for your gas stove. This will depend on factors such as the stove’s BTU rating, size of the kitchen, and local building codes. Determine whether you need a range hood or a vent pipe system, and ensure it is appropriate for your stove and kitchen layout.
B. Installing the range hood or vent pipe
Based on your evaluation, install a range hood or vent pipe system to remove exhaust air from your kitchen. Follow the manufacturer’s instructions carefully and ensure proper installation and venting to the exterior of your home. Improper ventilation can lead to poor indoor air quality and safety hazards.
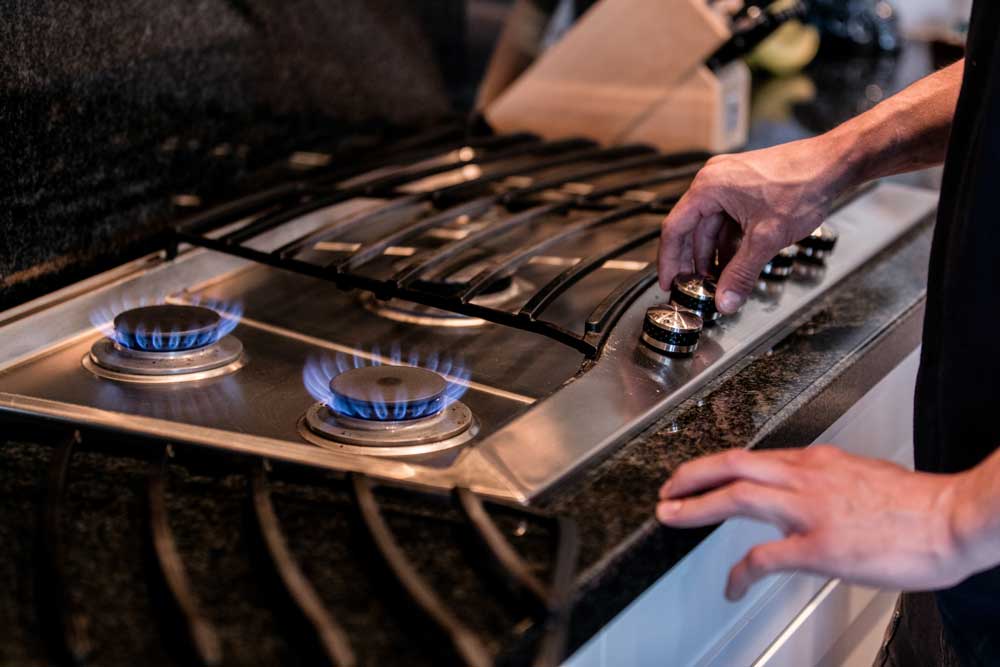
VII. Testing and Final Adjustments
After connecting the gas supply and setting up ventilation, it is essential to test the stove’s functionality and make any necessary adjustments.
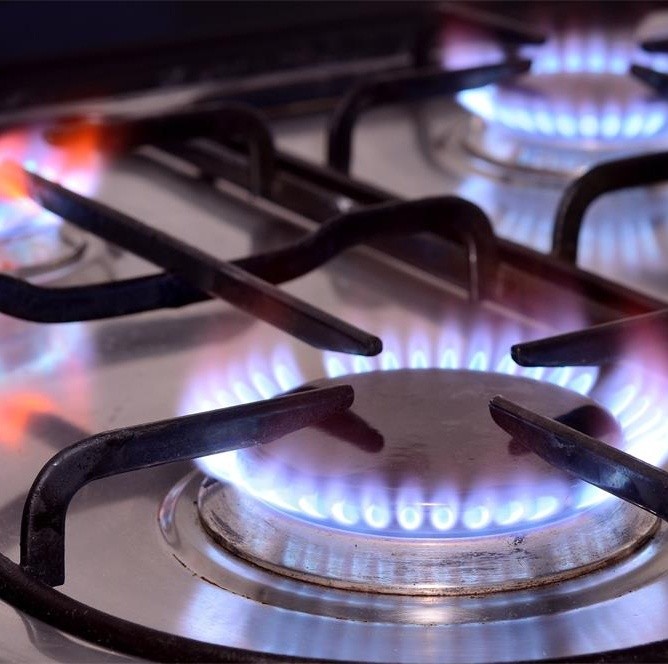
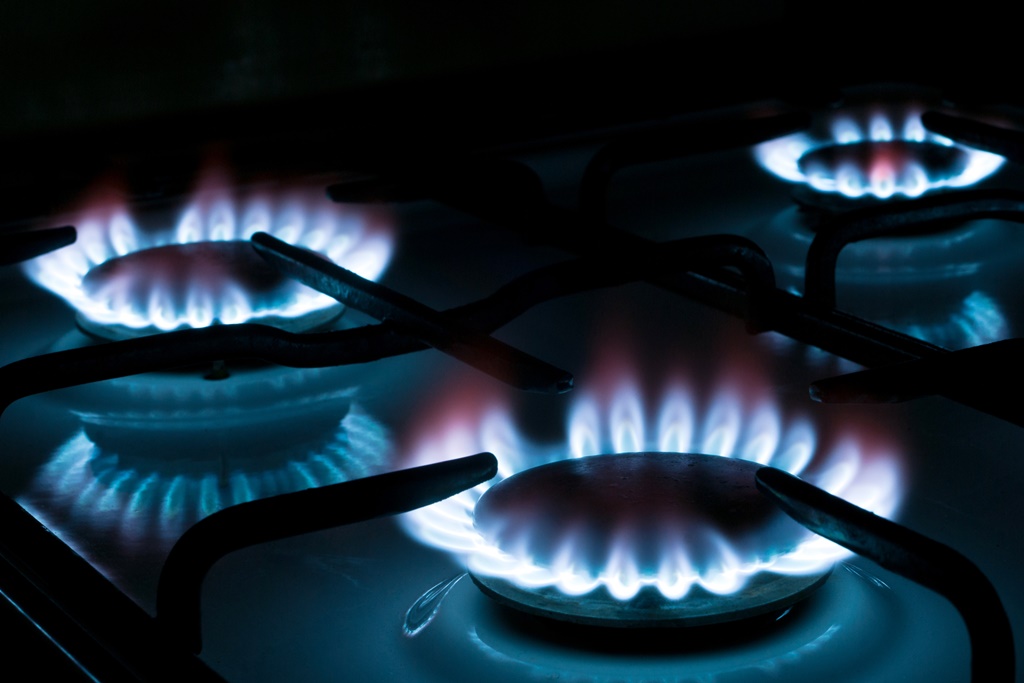
A. Ensuring proper functioning of gas burners and oven
Test each gas burner and the oven to ensure they ignite properly and produce a steady, even flame. Check that all electric igniters are working correctly. If any issues are detected, consult the stove’s manual or a professional to troubleshoot and fix the problem.
B. Adjusting flame height and igniters
If needed, adjust the flame height of the burners to the desired level. Follow the manufacturer’s instructions for making flame adjustments. Additionally, ensure that the electric igniters are properly aligned and sparking consistently for reliable ignition.
VIII. Conclusion
In conclusion, installing a gas stove involves several important steps, including connecting the gas supply, setting up ventilation, and testing for functionality. By following the manufacturer’s instructions, local regulations, and employing proper safety precautions, you can ensure a successful and safe installation. Remember to periodically check for gas leaks and perform maintenance as recommended by the manufacturer. Enjoy the convenience and benefits of a properly installed gas stove, knowing that you have taken the necessary steps to ensure its safe operation.