How to Install a Wood Burning Stove: A Step-by-Step Guide
I. Introduction to Installing a Wood Burning Stove

A. Understanding the Benefits and Considerations of Wood Burning Stoves
Wood burning stoves provide several benefits, including efficient heating, cost savings, and a cozy ambiance. However, proper installation is crucial to ensure safety, efficiency, and compliance with building codes and regulations.
B. Importance of Proper Installation for Safety and Efficiency
Proper installation of a wood burning stove is essential for safety and efficiency. A well-installed stove allows for proper ventilation, prevents fire hazards, and maximizes heat output. It also ensures compliance with local building codes and regulations.
II. Pre-Installation Planning and Preparation
A. Assessing the Space and Location for the Wood Burning Stove
- Determining the Suitable Placement and Clearances
Before installing a wood burning stove, assess the space and determine the suitable placement. Consider clearances from combustible materials, such as walls, furniture, and curtains, as well as the proximity to doorways and windows.
- Ensuring Compliance with Local Building Codes and Regulations
Check local building codes and regulations to ensure compliance with installation requirements. Some areas may have specific guidelines regarding clearances, chimney height, and ventilation.
B. Choosing the Right Size and Model of Wood Burning Stove
- Estimating Heating Needs and Calculating BTU Requirements
Evaluate your heating needs and calculate the required BTU (British Thermal Unit) output for the space. This information will help you select a wood burning stove with the appropriate size and heating capacity.
- Selecting a Stove that Fits Your Aesthetic and Functional Preferences
Consider both the aesthetic and functional aspects when choosing a wood burning stove. Look for a model that suits your personal style and complements the decor of your home. Additionally, ensure that the stove has the features and capabilities that meet your heating requirements.
III. Chimney and Ventilation System Installation
A. Evaluating the Existing Chimney or Installing a New Chimney

- Inspecting and Cleaning an Existing Chimney
If you have an existing chimney, have it inspected and cleaned by a professional chimney sweep before installing the wood burning stove. This ensures that the chimney is in good condition and free from obstructions.
- Constructing a New Chimney to Meet Safety Standards
If you don’t have an existing chimney, consult with a professional to determine the best location and construct a new chimney according to safety standards. The new chimney should provide proper draft and ventilation for the wood burning stove.
B. Installing and Connecting Stove Pipes and Ventilation Components
- Assembling Stove Pipes and Attaching to the Stove
Assemble the stove pipes according to the manufacturer’s instructions. Connect the stove pipes to the outlet of the wood burning stove, ensuring a secure fit and proper alignment.
- Connecting Stove Pipes to the Chimney or Ventilation System
Connect the stove pipes to the chimney or ventilation system, following the guidelines provided by the stove and chimney manufacturer. Use appropriate connectors and seals to ensure a tight and leak-free connection.
IV. Fireproofing and Floor Protection
A. Ensuring Proper Fireproofing Measures
- Using Non-Combustible Materials for Surrounding Walls and Floor
Ensure that the surrounding walls and floor near the wood burning stove are made of non-combustible materials. This prevents fire hazards and reduces the risk of accidental fires.
- Installing Fireproof Insulation and Heat Shields as Necessary
Install fireproof insulation and heat shields as necessary to further protect combustible materials from the heat generated by the wood burning stove. This provides an added layer of safety.
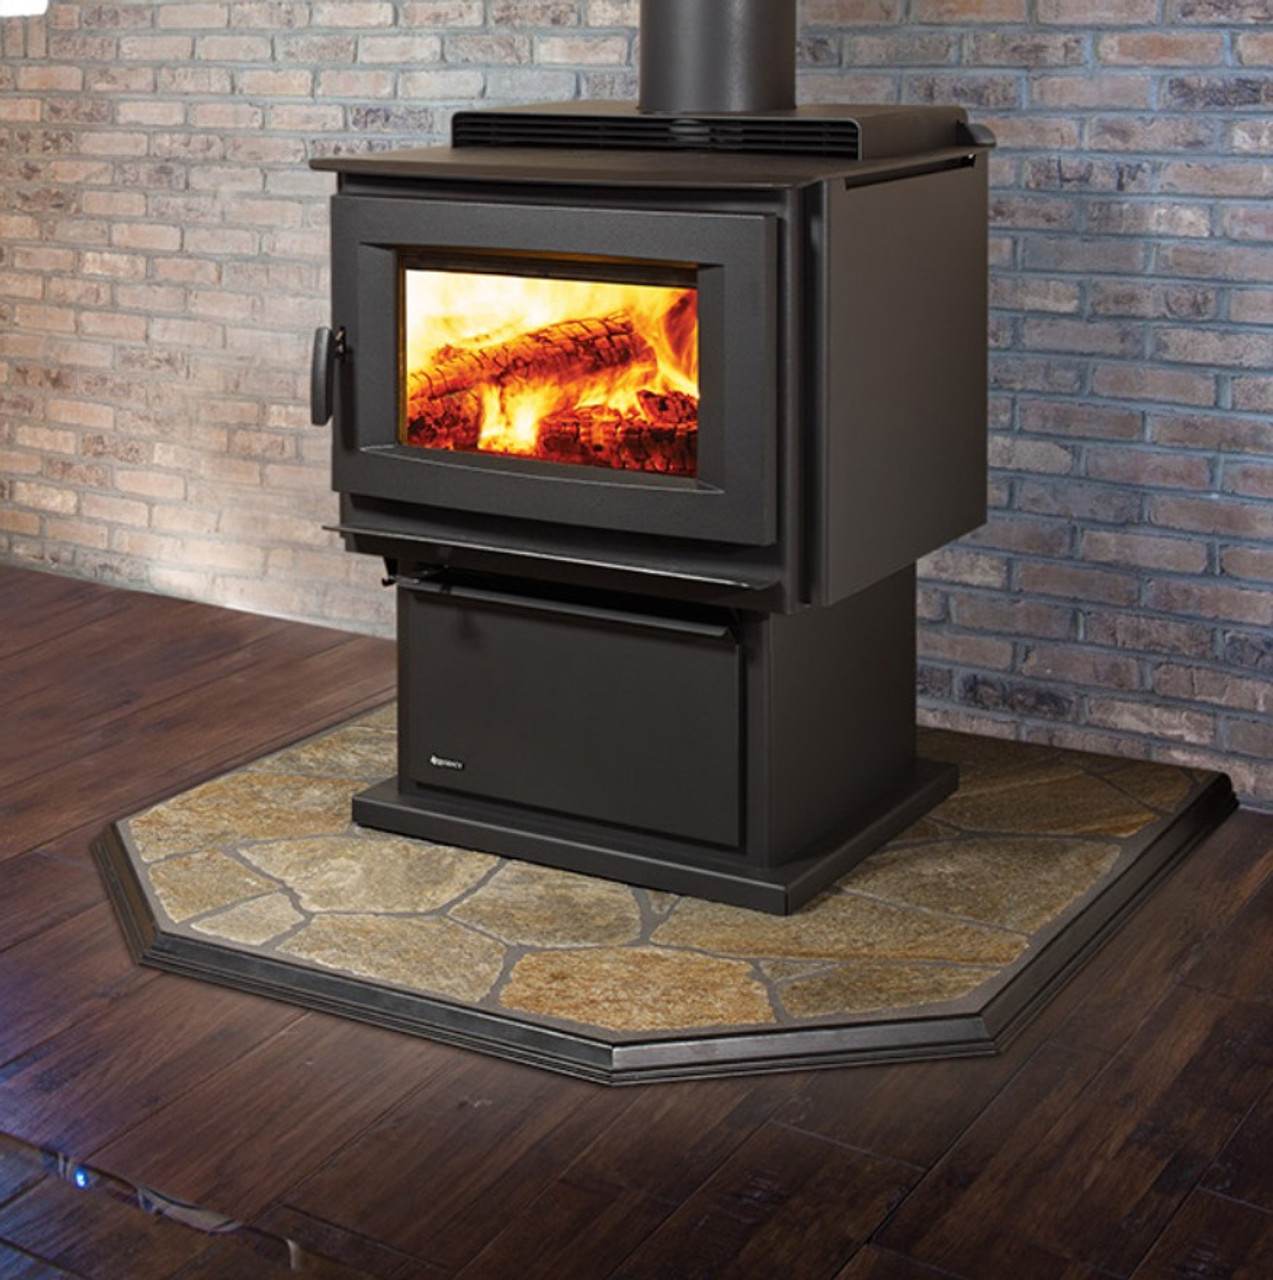
B. Providing Adequate Floor Protection

- Using Heat-Resistant Materials or Stove Boards
Place heat-resistant materials or stove boards beneath the wood burning stove to protect the floor from heat and sparks. These materials should be rated for high temperatures and comply with building codes.
- Determining the Required Size and Thickness of Floor Protection
Refer to local building codes and stove manufacturer guidelines to determine the required size and thickness of floor protection. This ensures compliance with safety regulations and protects your floor from potential damage.
V. Stove Installation and Connection
A. Positioning and Leveling the Wood Burning Stove
- Placing the Stove on the Prepared Surface
Position the wood burning stove on the prepared surface, ensuring it is centered and aligned properly. Follow the installation instructions provided by the manufacturer.
- Ensuring Proper Alignment and Stability
Ensure that the wood burning stove is level and stable. Use adjustable legs or shims to achieve proper alignment and stability.
B. Connecting the Stove to the Stove Pipe and Ventilation System

- Securing Stove Pipe Connections and Sealing Joints
Securely attach the stove pipe to the wood burning stove and chimney or ventilation system. Use appropriate connectors, seals, and clamps to ensure a tight and leak-free connection.
- Verifying Proper Draft and Airflow
Once the wood burning stove is connected to the stove pipe and ventilation system, check for proper draft and airflow. Verify that smoke is properly venting up the chimney and that the stove is operating efficiently.
VI. Clearances and Safety Considerations
A. Maintaining Clearances to Combustible Materials
- Following Manufacturer’s Guidelines for Minimum Clearances
Adhere to the manufacturer’s guidelines for minimum clearances between the wood burning stove and combustible materials. Maintain proper distances to prevent heat-related issues and reduce the risk of fire.
- Using Heat Shields or Insulating Materials for Reduced Clearances
If minimum clearances cannot be met, install heat shields or insulating materials as approved by the manufacturer. These help reduce clearances and provide an added layer of protection.

B. Installing Carbon Monoxide and Smoke Detectors
- Enhancing Safety with Early Warning Systems
Install carbon monoxide and smoke detectors near the wood burning stove and in adjacent rooms. These detectors provide early warnings in the event of a carbon monoxide leak or fire, ensuring the safety of occupants.
- Testing and Maintaining Detectors Regularly
Regularly test and maintain carbon monoxide and smoke detectors to ensure they are functioning properly. Change batteries as needed and follow the manufacturer’s guidelines for maintenance.
In conclusion, installing a wood burning stove requires careful planning, preparation, and adherence to safety guidelines. Pre-installation considerations such as space assessment and stove selection are important. Chimney and ventilation system installation, along with fireproofing and floor protection, are crucial for safety and compliance. Proper positioning, leveling, and connection of the stove are essential steps. Clearances to combustible materials, installation of detectors, and regular maintenance contribute to a safe and efficient wood burning stove experience. By following this step-by-step guide, individuals can enjoy the warmth, ambiance, and benefits of a well-installed wood burning stove in their home.