Cleaning Stove Top Grates: A Comprehensive Guide
I. Introduction to Cleaning Stove Top Grates
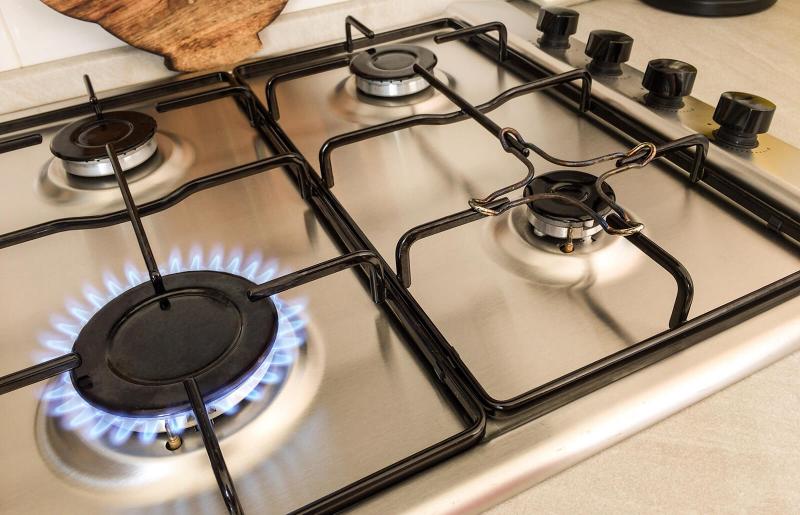
A. Importance of Regular Cleaning for Optimal Performance Regularly cleaning stove top grates is essential for maintaining optimal performance. Clean grates ensure better heat distribution, prevent flare-ups, and reduce the risk of food contamination.
B. Benefits of Maintaining Clean Stove Top Grates Clean stove top grates not only enhance cooking efficiency but also improve the overall appearance of the kitchen. Removing grease, food residue, and stains from the grates keeps them looking new and extends their lifespan.
II. Preparing for Cleaning
A. Safety Precautions and Equipment
- Wearing Protective Gloves and Apron To protect your hands and clothes from cleaning agents and food residue, wear protective gloves and an apron.
- Gathering Cleaning Supplies and Tools Gather cleaning supplies such as a bristle brush, non-scratch sponge, baking soda, vinegar, dish soap, and a bucket or basin for soaking the grates.
B. Disconnecting the Grates and Burners
- Turning Off the Stove and Cooling Down Ensure that the stove is turned off and has cooled down before starting the cleaning process. Safety is paramount when handling hot surfaces.
- Safely Removing the Grates and Burners Carefully remove the grates and burners from the stove. Follow the manufacturer’s instructions or consult the stove manual for guidance on safely disconnecting these components.
III. Removing Loose Debris and Food Residue
A. Scrubbing with a Bristle Brush
- Removing Loose Grime and Burnt Residue Using a bristle brush, scrub the grates to remove loose debris and burnt residue. Focus on areas with heavy staining or buildup.
- Focusing on Stubborn Spots and Stains For stubborn spots and stains, apply more pressure and scrub vigorously to loosen and remove the residue. Repeat if necessary until the grates are visibly cleaner.
B. Soaking in Hot Soapy Water
- Preparing a Cleaning Solution Fill a bucket or basin with hot water and add a few drops of dish soap. Create a soapy solution that will help break down grease and grime.
- Allowing Grates to Soak for Effective Cleaning Submerge the grates in the hot soapy water and let them soak for about 15-30 minutes. This soak will help loosen remaining residue and make scrubbing easier.
IV. Deep Cleaning Techniques
A. Using Baking Soda Paste
- Creating a Natural Cleaning Solution Mix baking soda with a small amount of water to create a paste with a thick consistency. Baking soda is a gentle abrasive that helps remove tough stains without scratching the grates.
- Gentle Abrasive Action for Tough Stains Apply the baking soda paste to the grates and let it sit for a few minutes. Scrub gently with a non-scratch sponge or brush to remove tough stains. Rinse thoroughly.
B. Vinegar and Water Solution
- Applying the Solution to Grime and Grease Create a solution by mixing equal parts vinegar and water. Apply the solution to areas with heavy grime and grease buildup. Let it sit for a few minutes to break down the residue.
- Disinfecting and Removing Lingering Odors Vinegar acts as a natural disinfectant and helps remove lingering odors. After allowing the solution to sit, scrub the grates with a non-scratch sponge or brush. Rinse thoroughly.
V. Scrubbing and Rinsing
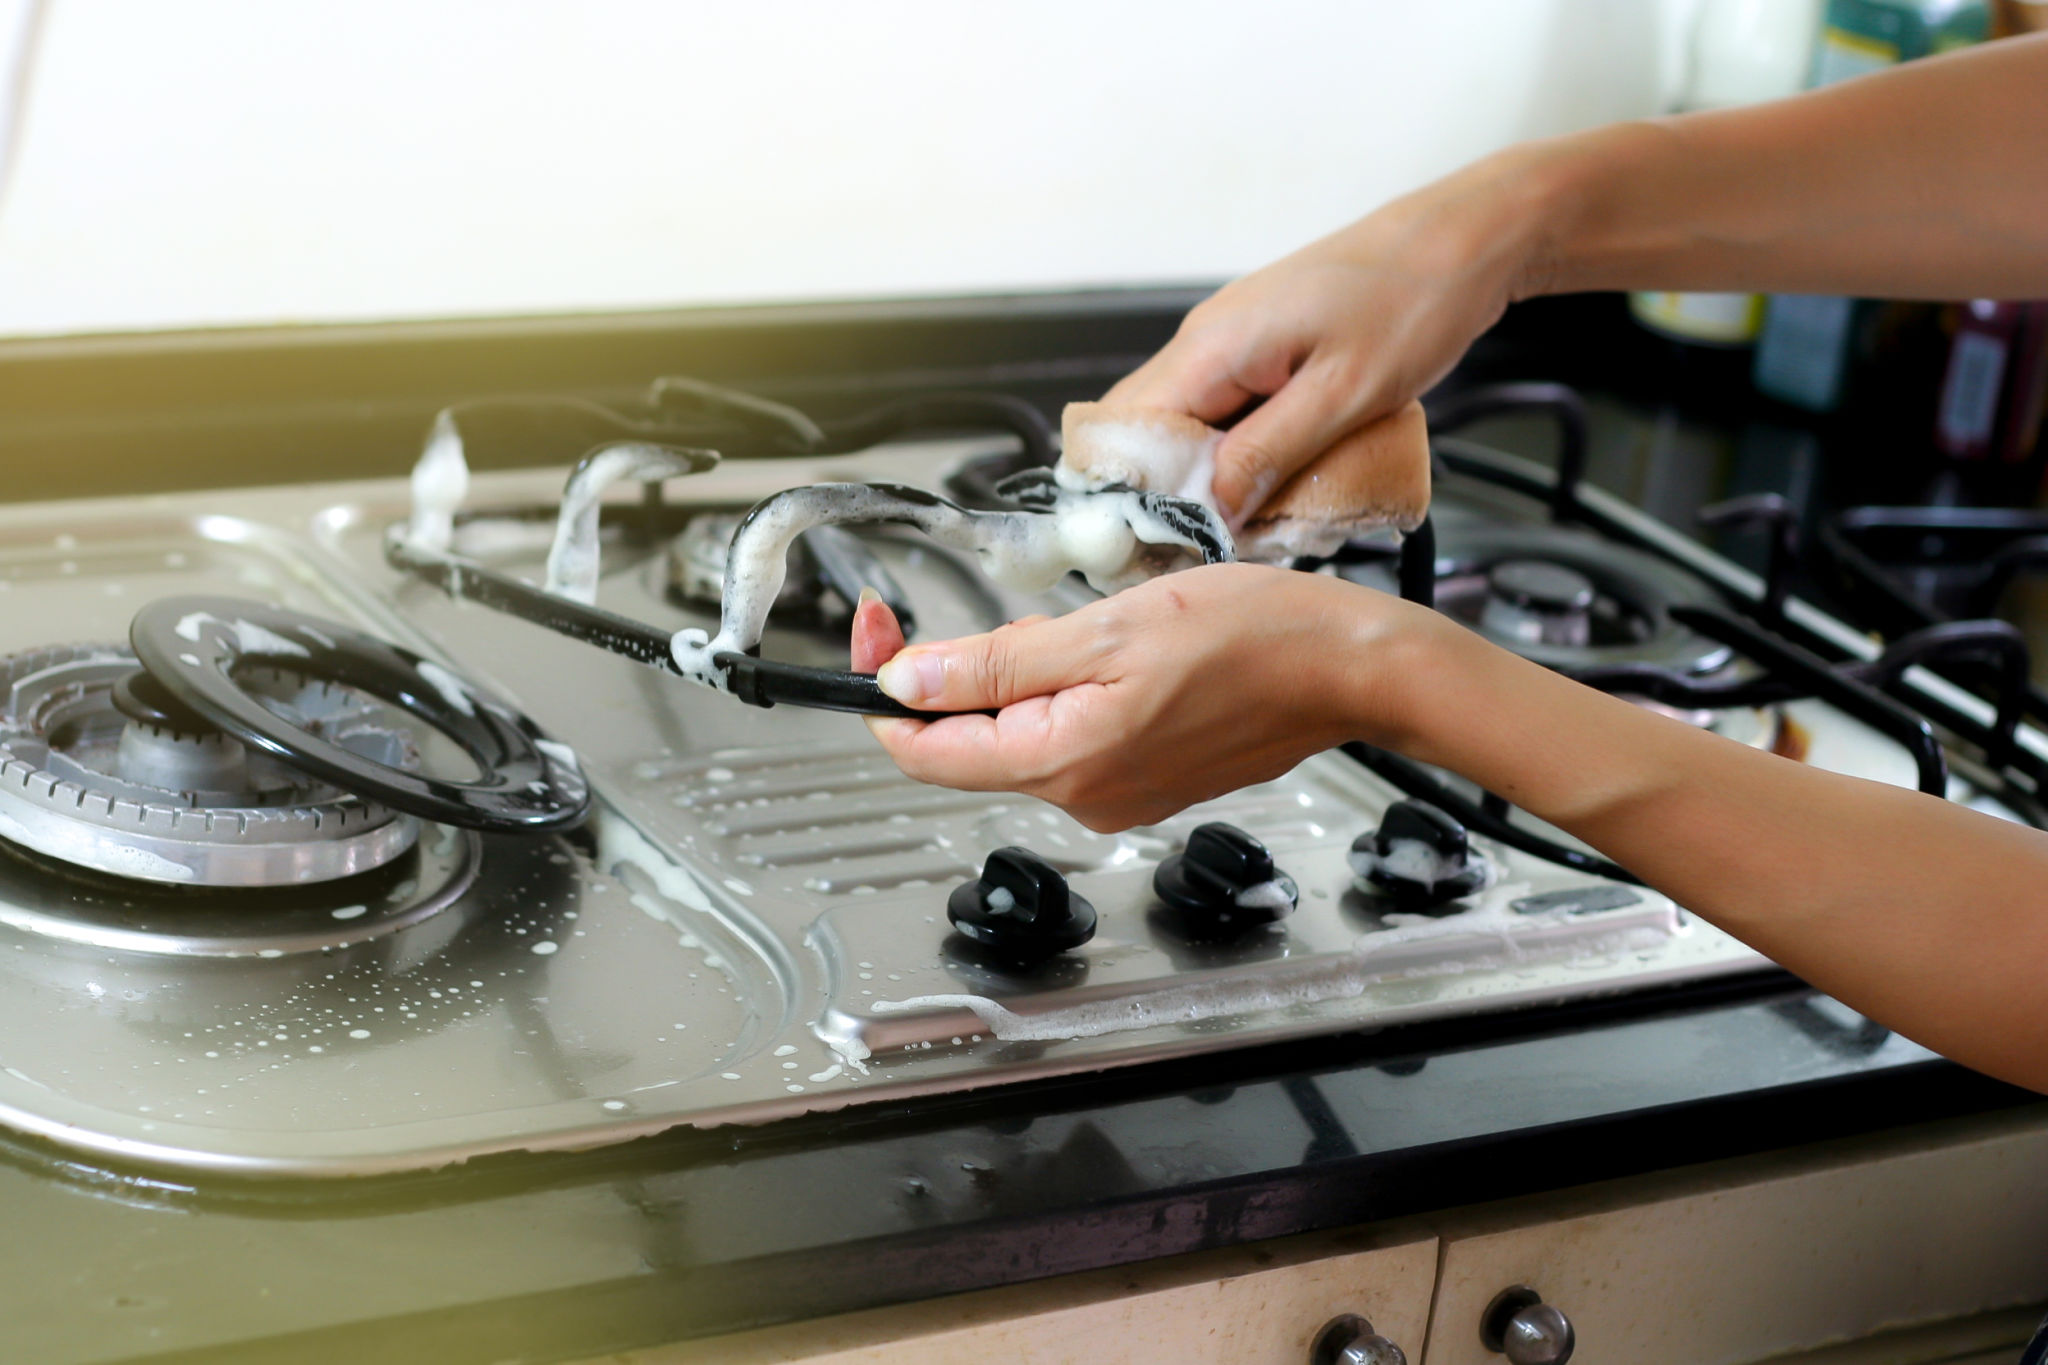
A. Scrubbing with a Non-Scratch Sponge
- Applying Cleaning Solution and Scrubbing Gently Apply a mild cleaning solution or soapy water to a non-scratch sponge. Gently scrub the grates, focusing on areas that require additional attention.
- Removing Stubborn Stains with Care For stubborn stains, use a bit more pressure while scrubbing. Be cautious not to scrub too aggressively, as this can damage the grates. Rinse the grates thoroughly.
B. Thoroughly Rinsing Grates
- Ensuring No Residue is Left behind After scrubbing, rinse the grates thoroughly with warm water to ensure that no residue or cleaning agents are left behind. This will prevent unwanted flavors or odors during future cooking.
- Using Warm Water to Rinse Off Cleaning Agents Run warm water over the grates, ensuring that all soap or cleaning solution is thoroughly rinsed off. Allow the grates to air dry or pat them dry with a clean towel.
VI. Drying and Reassembling
A. Air Drying the Grates
- Placing Grates on a Clean Towel or Drying Rack Place the grates on a clean towel or drying rack to air dry. Ensure that they are placed in a well-ventilated area where they can dry completely before reassembling.
- Allowing Sufficient Drying Time Allow sufficient drying time for the grates to fully air dry. This helps prevent moisture buildup and potential rusting or damage when they are reassembled.
B. Reassembling the Grates and Burners
- Ensuring Proper Alignment and Placement When reassembling the grates and burners, ensure they are properly aligned and placed back in their original positions. Check for any loose connections or misalignment before use.
-
Double-Checking Connections and Ignition Double-check that all connections are secure and properly fitted. Test the ignition system to ensure it is functioning correctly before using the stove again.
In conclusion, cleaning stove top grates is essential for maintaining optimal performance and aesthetics in the kitchen. Preparation, including safety precautions and gathering supplies, is crucial. Removing loose debris and food residue can be achieved through scrubbing and soaking techniques. Deep cleaning with baking soda paste or vinegar and water solution effectively tackles tough stains and disinfects the grates. Scrubbing and rinsing thoroughly ensure a residue-free surface. Proper drying and reassembly complete the cleaning process. By following these steps, homeowners can enjoy clean stove top grates, enhancing the overall cooking experience with improved efficiency and a fresh cooking surface.