Cleaning Gas Stove Top: Effective Methods for a Spotless Kitchen

I. Introduction to Cleaning Gas Stove Top
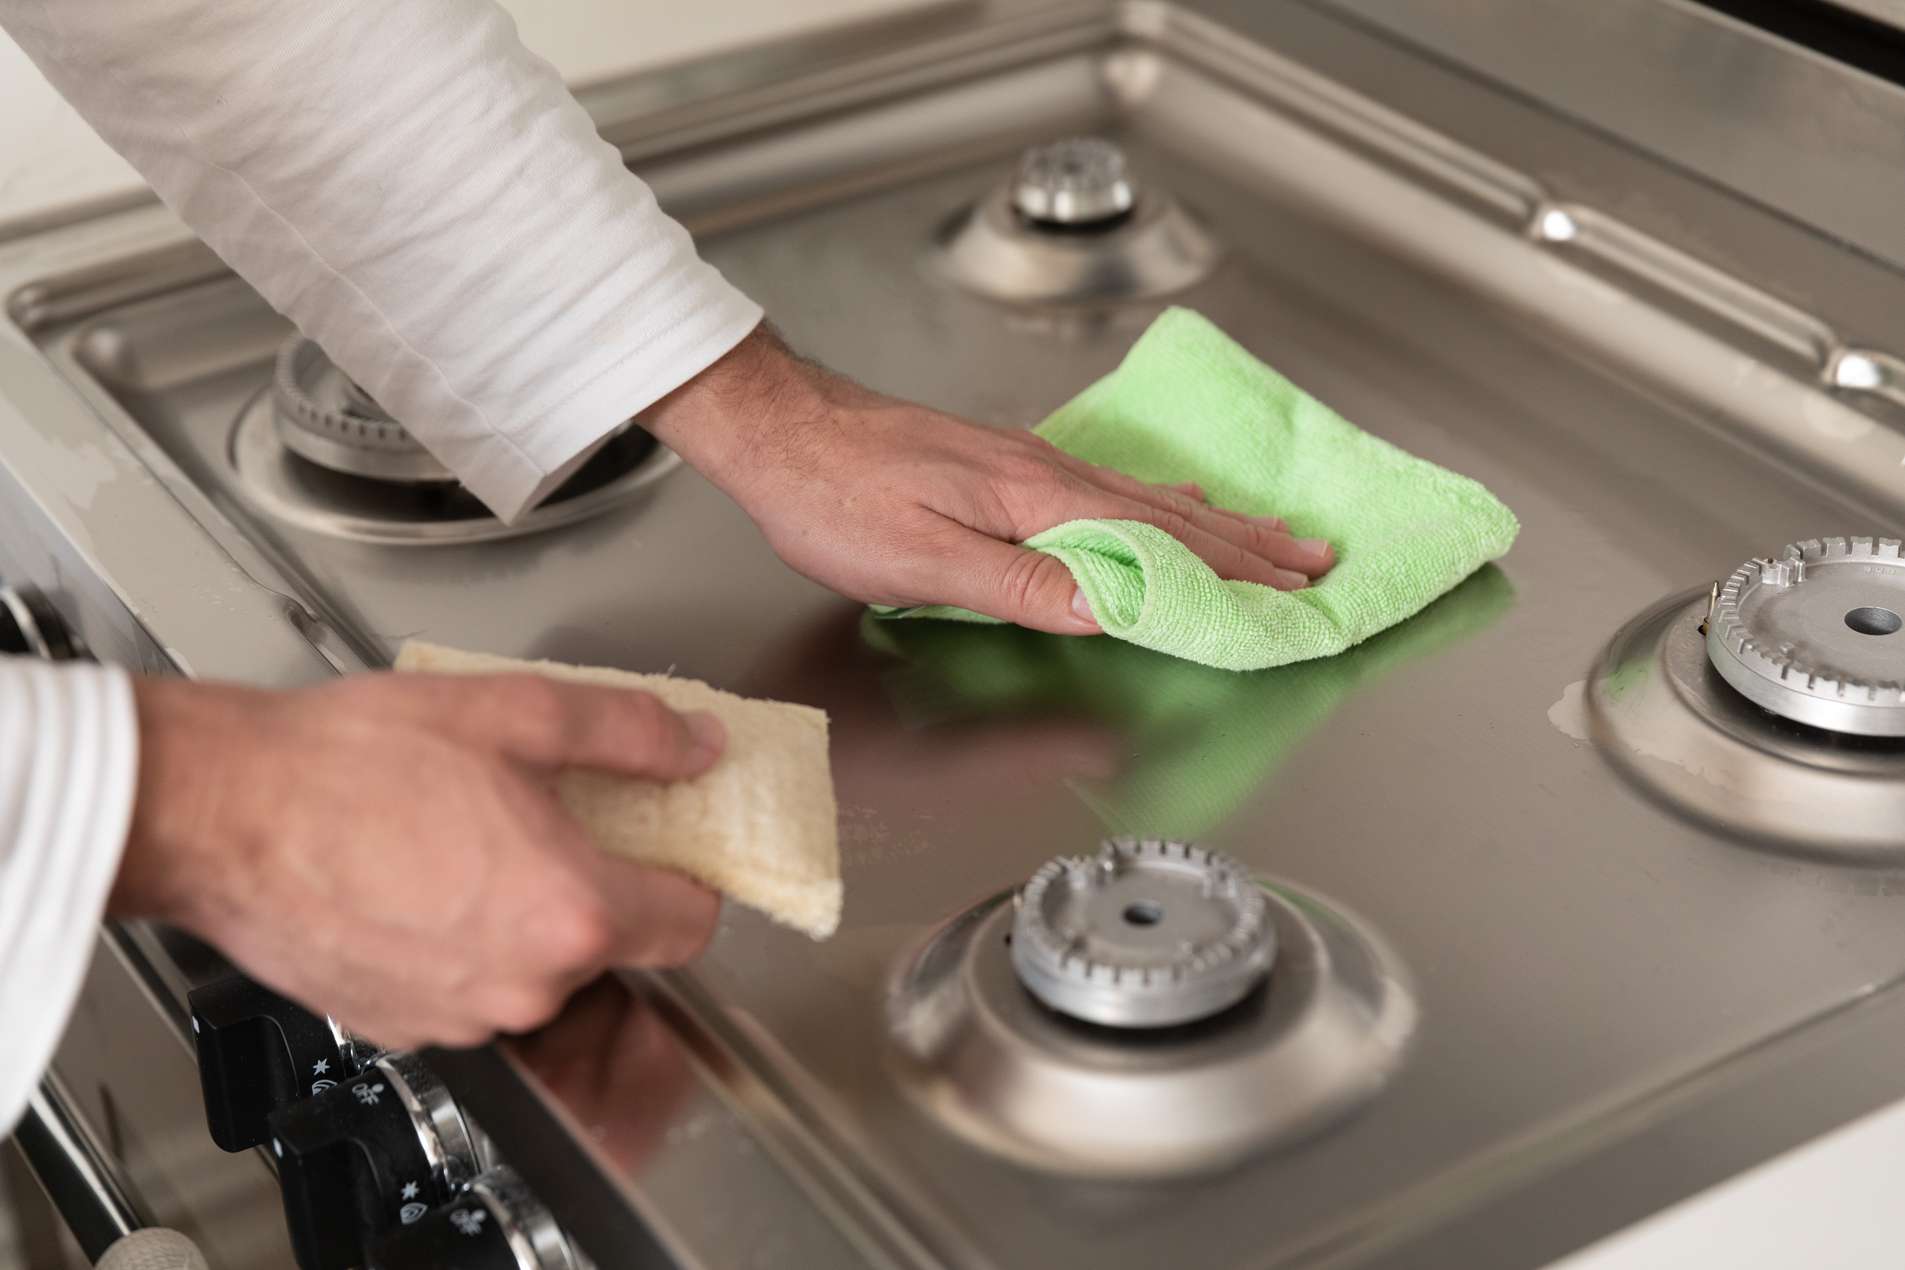
A. Overview of the Importance of Regularly Cleaning Gas Stove Tops
Regularly cleaning gas stove tops is essential for maintaining a clean and hygienic cooking environment. Over time, grease, food residue, and stains can accumulate on the surface, burner grates, and burner heads. Cleaning gas stovetops not only improves their appearance but also ensures efficient and safe operation.
B. Understanding Different Types of Gas Stove Tops and Their Cleaning Needs
Gas stove tops come in various types, including sealed burners, open burners, or griddle tops. Each type requires specific cleaning methods due to differences in design and materials used. It’s important to identify the type of gas stove top you have and follow the appropriate cleaning techniques.
C. Exploring the Benefits of Properly Cleaning Gas Stove Tops
Properly cleaning gas stove tops offers several benefits. It helps maintain optimal heat distribution, prevents clogs in burner jets, reduces the risk of uneven cooking, and eliminates potential fire hazards. Additionally, a clean gas stove top contributes to a more pleasant cooking experience and improves the overall appearance of your kitchen.
II. Preparing for Cleaning Gas Stove Top
A. Safety Precautions and Considerations
- Identifying Safety Measures When Handling Gas Stove Tops and Cleaning Products
Before cleaning, ensure the gas stove top is turned off and the burners have cooled down completely. Use caution when handling hot surfaces and cleaning products, such as wearing protective gloves and avoiding contact with skin or eyes.
- Exploring Safety Tips for Protecting Yourself and Your Kitchen
To protect your kitchen surfaces, lay down towels or use a protective mat when cleaning. Ensure proper ventilation by opening windows or turning on a range hood to minimize exposure to cleaning fumes and maintain good air circulation.
B. Removing Burner Grates and Control Knobs
- Step-by-Step Instructions for Safely Removing Grates and Knobs
Consult your stove’s user manual for specific instructions on removing grates and control knobs. In general, lift and remove each grate separately by gently lifting it upward. Control knobs can usually be pulled off by firmly gripping and pulling them away from the stove.
- Exploring Techniques for Easy Removal and Accessibility for Cleaning
To ease the removal of burner grates, gently wiggle them from side to side while lifting. For control knobs, avoid using excessive force, and ensure that they are not twisted or stuck before pulling them off.
III. Cleaning Methods for Gas Burner Grates
A. Soaking Grates in Soapy Water
- Step-by-Step Instructions for Soaking Grates and Removing Grease or Food Residue
Fill a sink or basin with warm water and add dish soap to create a soapy solution. Submerge the burner grates in the soapy water and let them soak for at least 15-30 minutes. Use a sponge or brush to scrub away grease and food residue. Rinse the grates thoroughly with clean water.
- Exploring Tips for Effective Cleaning and Loosening Stubborn Stains
For stubborn stains or buildup, create a paste by mixing baking soda with water. Apply the paste to the grates and let it sit for a few minutes before scrubbing. Rinse the grates thoroughly and dry them before reattaching them to the stove.
B. Scrubbing Grates with Baking Soda and Vinegar
- Exploring the Benefits of Baking Soda and Vinegar for Deep Cleaning
Baking soda and vinegar are effective natural cleaners that can help to remove tough stains and baked-on grease. Baking soda acts as a mild abrasive, while vinegar’s acidity helps break down grease and grime.
- Highlighting Steps for Scrubbing and Removing Tough Stains or Buildup
Create a paste by mixing baking soda with water, and apply it to the grates. Let it sit for a few minutes to loosen the stains. Scrub the grates with a sponge or brush, using vinegar as needed to reactivate the baking soda and further break down stubborn stains. Rinse the grates thoroughly and dry them before reattaching to the stove.
IV. Cleaning Methods for Gas Stove Burners
A. Cleaning Burner Heads with Soapy Water and Brush
- Step-by-Step Instructions for Disassembling and Cleaning Burner Heads
Carefully remove the burner heads from the stove by gently lifting them off or unscrewing them, depending on the design of your gas stove. Soak the burner heads in warm soapy water for a few minutes. Use a brush or sponge to scrub away grease and residue. Rinse the burner heads thoroughly and let them dry completely before reinstalling.
- Exploring Techniques for Removing Grease and Residue from Burner Heads
To remove stubborn grease or residue, use a soft brush or toothbrush to scrub the burner heads. Pay special attention to the small holes or openings where gas flows. Ensure that all openings are clear and free from blockages.
B. Removing Burner Caps and Cleaning with Degreaser
- Exploring the Benefits of Degreaser for Stubborn Stains or Buildup
Degreasers are effective for removing stubborn stains, burned-on grease, or buildup on burner caps. They are specifically formulated to dissolve and break down tough residues.
- Highlighting Steps for Cleaning and Restoring Burner Caps’ Shine
Remove the burner caps from the stove and place them in a sink or basin. Spray a degreaser directly onto the burner caps and let it sit for a few minutes. Use a sponge or brush to scrub away the stains and residue. Rinse the burner caps thoroughly and let them dry completely before reinstalling.
In conclusion, cleaning a gas stove top is crucial for maintaining its efficiency, appearance, and safety. By following proper safety precautions, removing burner grates and control knobs, and using effective cleaning methods, you can keep your gas stove top clean and in good condition. Regular cleaning not only ensures optimal performance but also enhances your cooking experience. Enjoy a clean and well-maintained gas stove top in your kitchen.