How Long To Cook Thin Steak On Stove
I. Introduction

Cooking thin steak on the stove is a quick and easy way to prepare a delicious meal. Whether you’re a beginner cook or a seasoned pro, mastering the art of cooking thin steak on the stove can elevate your culinary skills and impress your family and friends. In this blog post, we will provide you with a step-by-step guide on how to select the right cut of steak and prepare it for cooking.
II. Selecting the Right Cut of Steak
A. Choosing the right type of thin steak
When it comes to cooking thin steak on the stove, it’s important to choose the right type of cut. Some popular options for thin steak cuts include flank steak, skirt steak, and sirloin tip steak. These cuts are flavorful and tender, making them ideal for stove-stop cooking. Additionally, they cook quickly, which is perfect for busy weeknight dinners or last-minute meal preparations.
B. Preparing the steak for cooking
Before cooking thin steak on the stove, it’s essential to prepare the steak properly. Start by seasoning the steak with salt and pepper to enhance its natural flavors. You can also add other seasonings, such as garlic powder, onion powder, or paprika, to customize the flavor of the steak to your liking. Once seasoned, allow the steak to come to room temperature for about 20-30 minutes. This will ensure that the steak cooks evenly and retains its juices for a tender and juicy result.
Next, it’s important to pat the steak dry with paper towels to remove any excess moisture. This step is crucial for achieving a nice sear on the steak and preventing it from steaming in the pan. Once the steak is dry, you can proceed to cook it on the stove.
III. Prepping the Pan and Steak
A. Preheating the pan
Before you start cooking your thin steak on the stove, it’s crucial to preheat the pan. Choose a heavy-bottomed skillet, such as a cast-iron or stainless steel pan, as these types of pans distribute heat evenly and retain high temperatures, which are essential for achieving a nice sear on the steak. Place the pan on the stove over medium-high heat and allow it to preheat for a few minutes. You’ll know the pan is ready when it’s hot enough to make a drop of water sizzle and evaporate on contact.
B. Seasoning the steak
While the pan is preheating, take the time to season your steak. In addition to the initial seasonings applied before letting the steak come to room temperature, you may consider adding a drizzle of olive oil to the steak and rubbing it in to create a flavorful crust during cooking. You can also experiment with different herbs and seasonings, such as rosemary, thyme, or cayenne pepper, to enhance the flavor profile of the steak. Gently press the seasonings into the steak to ensure they adhere well.
IV. Cooking the Thin Steak
A. Searing the steak
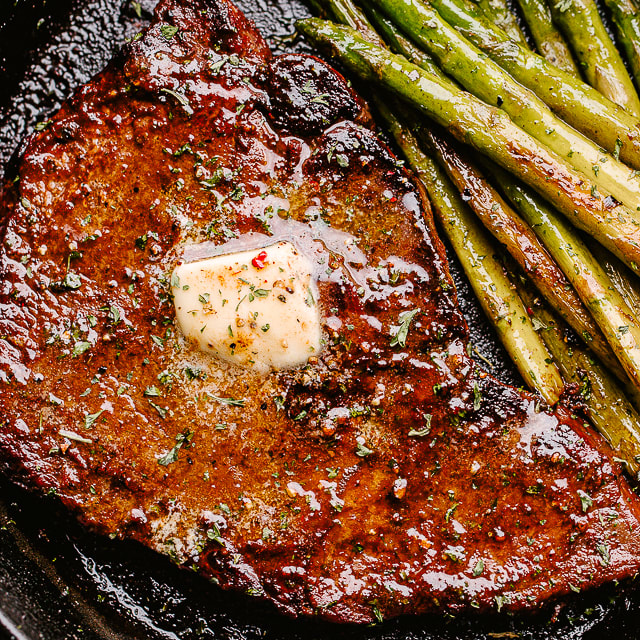
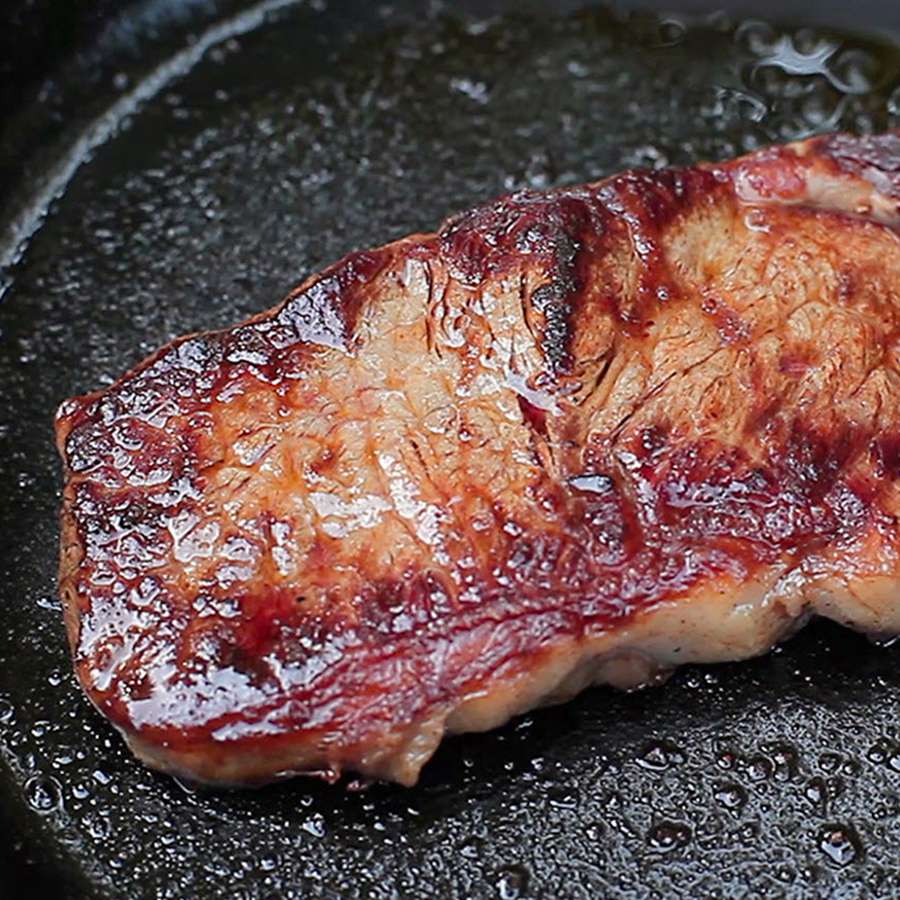
Once the pan is properly preheated and the steak is seasoned, it’s time to start cooking. Carefully place the steak in the hot skillet, using tongs to prevent burns. Allow the steak to sear without moving it for 2-3 minutes on each side. This will create a caramelized and flavorful crust on the steak. It’s important not to overcrowd the pan, so if you’re cooking multiple steaks, work in batches to ensure even cooking and proper searing.
B. Monitoring the cooking time
While the steak is searing, it’s important to monitor the cooking time to ensure that it reaches the desired level of doneness. For a thinner cut of steak, such as flank or skirt steak, the cooking time will be relatively short. Aim for an internal temperature of 130-135°F for medium-rare, 140°F for medium, and 150°F for medium-well. You can use an instant-read thermometer to check the doneness of the steak. Keep in mind that the steak will continue to cook slightly after it’s removed from the heat, so factor in some resting time before slicing and serving.
V. Checking for Doneness and Resting
A. Testing the steak for doneness
After searing the thin steak on the stove, the next step is to check for doneness. While using an instant-read thermometer is the most accurate way to determine doneness, there are other methods to visually and tactilely assess the steak’s readiness.
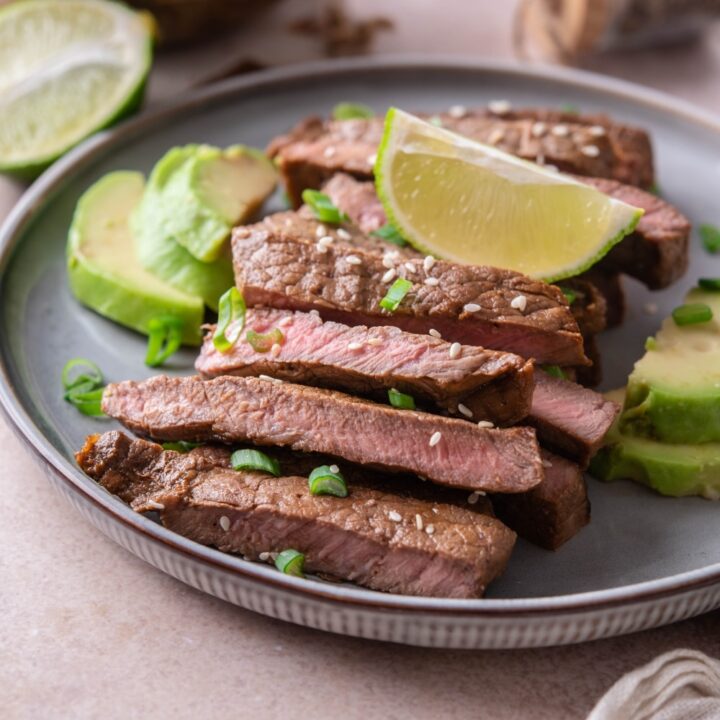
For medium-rare, the steak should feel tender but with some resistance when pressed with your fingers. It should also have a warm, red center. Medium steak will feel firmer and have a pink center. Medium-well steak will be firm with a slightly pink center, and well-done will be firm with no pink visible.
B. Allowing the steak to rest

Once the steak has reached the desired level of doneness, it’s crucial to allow it to rest before slicing and serving. Resting the steak for about 5-10 minutes allows the juices to redistribute within the meat, resulting in a juicier and more flavorful steak. To rest the steak, transfer it to a cutting board and loosely tent it with foil to keep it warm. Avoid cutting into the steak immediately, as this will cause the juices to escape, resulting in a drier and less flavorful steak.
By testing the steak for doneness and allowing it to rest, you can ensure that the final result is a perfectly cooked and juicy thin steak that’s ready to be enjoyed.
VI. Serving and Enjoying
A. Slicing and plating the steak
Once the thin steak has rested, it’s time to slice and plate it for serving. Using a sharp knife, slice the steak against the grain to ensure tenderness and easier chewing. Arrange the slices on a serving platter or individual plates, drizzling any accumulated juices from the resting period over the meat. This will enhance the flavor and juiciness of the steak. Garnish the steak with fresh herbs, such as parsley or chives, for a pop of color and added freshness.
B. Pairing the steak with sides
Pairing your thin steak with the right sides can elevate the dining experience. Classic accompaniments like roasted vegetables, mashed potatoes, or a simple green salad can complement the richness of the steak. Additionally, consider incorporating contrasting flavors and textures, such as a tangy and crisp coleslaw or a creamy and savory risotto. The options are endless, so don’t be afraid to get creative with your pairings to create a well-rounded and satisfying meal.
C. Savoring the delicious results
After all the preparation and cooking, it’s time to savor the delicious results of your efforts. Take a moment to appreciate the tender and juicy thin steak that you’ve created. Chew slowly and enjoy the rich flavors and textures of the meat. Whether you’re savoring it in the company of loved ones or enjoying a quiet moment to yourself, relish in the satisfaction of a perfectly cooked steak that delights the senses.
In conclusion, cooking a thin steak to perfection is all about searing it to create a flavorful crust, monitoring the cooking time to avoid overcooking, checking for doneness using a meat thermometer or the touch test, and allowing the steak to rest before serving. With these tips and techniques, you can easily create a delicious and tender thin steak that is sure to impress your family and friends. Happy cooking!

