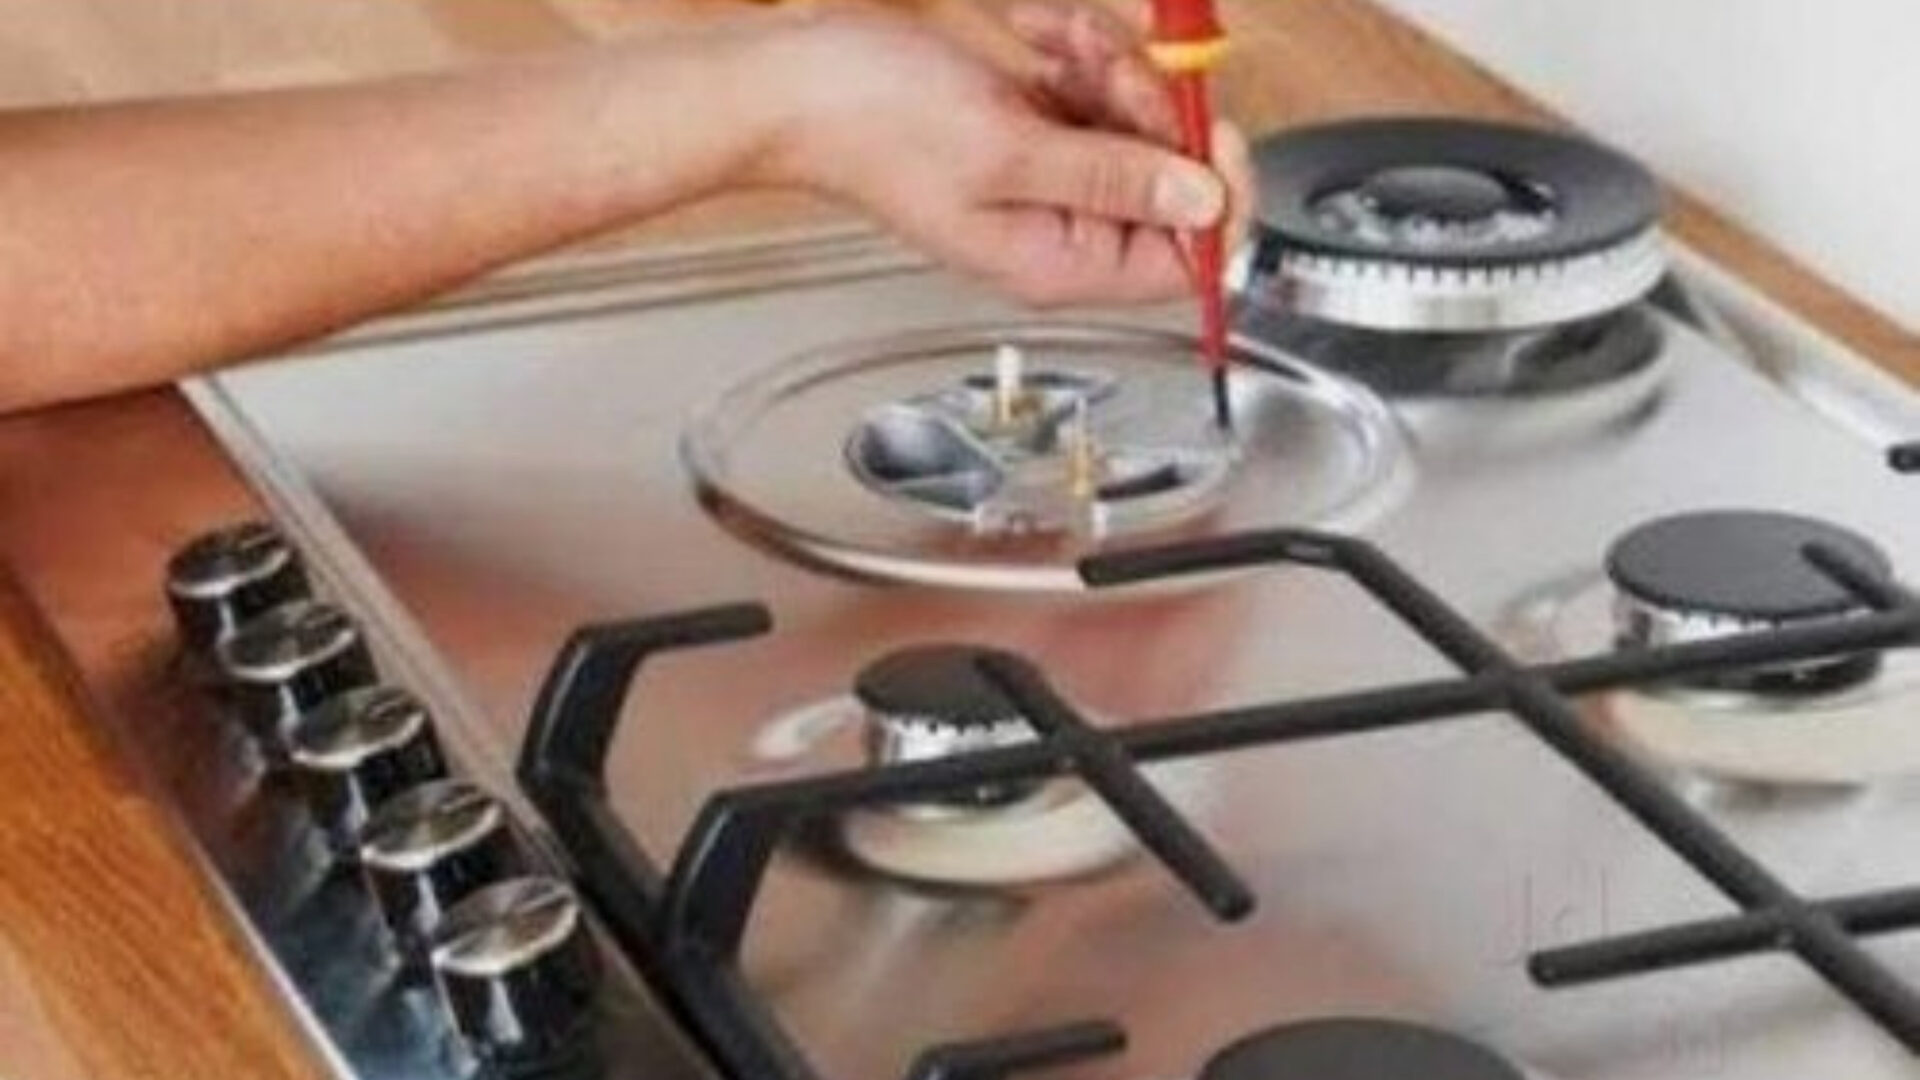
Safely Disconnecting a Gas Stove: A Step-by-Step Guide
I. Introduction
Safely disconnecting a gas stove is essential for various reasons, such as maintenance, relocation, or replacement. This article provides a comprehensive guide on how to disconnect a gas stove safely and efficiently.
II. Preparing for Disconnection
A. Safety precautions
- Shut off the gas supply:
Prior to disconnecting the gas stove, it is crucial to locate and shut off the gas supply using the gas shut-off valve to prevent any gas leaks or accidents.
B. Necessary tools and supplies
- Adjustable wrench:This tool is necessary for loosening and tightening the gas line fittings.
- Gas shut-off valve key: A gas shut-off valve key or wrench may be needed to turn off the gas supply at the shut-off valve.
- Pipe wrench (if needed): If the gas line fittings are tight, a pipe wrench may be required for additional leverage.
- Thread seal tape: Thread seal tape is used to ensure proper sealing of the gas line fittings.
- Safety goggles and gloves: It is important to protect your eyes and hands while working with gas.
III. Steps to Disconnect a Gas Stove
A. Turn off the gas supply
- Locate the gas shut-off valve:
The shut-off valve is typically located behind or near the stove. Refer to the stove’s manual or consult a professional if you are unsure of its location. - Shut off the gas supply using the gas shut-off valve key:
Insert the key or wrench into the valve and turn it until it is perpendicular to the gas line, shutting off the gas flow.
B. Disconnect the gas line
- Loosen the compression nut:
Using an adjustable wrench, loosen the compression nut connecting the flexible gas line to the shut-off valve by turning it counterclockwise. - Remove the flexible gas line from the shut-off valve: Once the compression nut is loosened, gently pull the flexible gas line off the shut-off valve.
- Remove the remaining gas line fittings (if applicable):
Depending on the stove’s installation, there may be additional fittings connecting the gas line to the stove. Use an adjustable wrench to loosen and disconnect these fittings, taking care not to damage any surrounding components.
C. Seal the gas line (if required)
- Apply thread seal tape to the male threads of the gas line fittings:
Wrap several layers of thread seal tape clockwise around the male threads of the gas line fittings. - Reinstall and tighten the fittings securely:
Reattach and tighten the gas line fittings using an adjustable wrench, ensuring they are firmly secured while avoiding over-tightening.
IV. Post-Disconnection Safety Measures
After disconnecting a gas stove, it is crucial to perform certain safety measures to ensure no gas leaks and to properly handle the gas line.
A. Inspect for leaks
- Perform a leak test using a soapy water solution:
Mix water with a small amount of dish soap to create a soapy solution. Apply this solution to the gas line connections, including the shut-off valve and any fittings. - Check for any bubbles indicating a leak:
Slowly open the gas shut-off valve and observe for any bubbles forming around the connections. \
B. Properly secure and store the gas line
- Coil the gas line securely:
Coil the gas line in a neat and organized manner, avoiding any kinks or twists. This helps prevent damage and ensures easier reinstallation or storage. - Store the gas line safely, away from any potential damage or hazards:
Find a suitable storage location for the gas line, such as a well-ventilated area, where it will be protected from physical damage, extreme temperatures, and any potential sources of ignition.
In conclusion, safely disconnecting a gas stove requires not only proper disconnection steps but also post-disconnection safety measures. After disconnecting the gas stove, it is crucial to inspect for gas leaks using a soapy water solution and to properly secure and store the gas line in a safe and suitable location. By following these post-disconnection safety measures, you can mitigate potential risks and ensure a safe environment when handling gas appliances.
